common mistakes people make when they start training

Avoid the frustration that comes with starting a new fitness routine and achieve your goals faster.

Everyone starts as a beginner. But even after you ditch the training wheels, you could still make rookie mistakes—sabotaging your progress and leaving you frustrated, confused, and exhausted. Even if you worked out for years, it could still happen. You must avoid these nine worst beginner mistakes to build an incredible body and take your fitness to the next level. Learn how they happen and how you can beat them. 

Overwhelming Yourself

Beginners say: “I want to gain 20 pounds of muscle and start eating healthier.” “I want to lose 15 pounds of fat and cut all carbs.” “I want to work out six times a week and start running every morning at 6 a.m.” Tackling a mammoth goal all at once can lead to failure, and you’ll exhaust your limited amount of time, willpower, and energy. You’ll also frustrate yourself because it takes so long to achieve. Instead, break that massive goal into smaller, more manageable steps: “I’m going to switch from machines to free weights to build more muscle and strength.” “I’m going to increase the weight on my squat by five pounds each time.” “I’m going to eat at least 150 grams of protein daily.” These are all simple habits you can measure, use to build confidence, and get closer to your overarching goal. 

Not Tracking Anything

“What gets measured gets managed,” Austrian business visionary Peter Drucker once said. Beginners never take notes. But if you measure nothing, what can you improve? Record everything in your workout: what exercises you did, what weight you used, how many reps—everything! Also, track your physique by taking photos and periodically measuring your body weight, circumference, and body fat percentage. This will highlight your successes and failures, so you can adjust your exercise program and diet to upgrade your results. For example, if you try a new diet, but your physique stays constant, you need to change something. But if you try a new workout and your body fat drops while your circumference grows, you’re doing great. People who skip taking notes also commit the next error…

Not Having a Plan

Without a plan, beginners roam the gym looking for something to do or switching their routines endlessly. But you will never build a great body this way because there’s no system or foresight. Instead, you’ll prevent yourself from mastering exercises, waste time, and miss out on great results. With so many great beginner programs available, pick one, get started, and stick to it for at least eight weeks. This will give you a system to follow and hold you accountable for each step. 

Relying on Supplements

Beginners always ask which supplements they should take. Then you find out they ate a pizza last night… and the night before… and the night before. It’s simple. Supplements are useless against a bad diet. Make sure you have a solid diet of lean meats, veggies, whole grains, and a lot of water before thinking about muscle gainers, pre-workouts, amino acids, and creatine. The food you eat impacts your physique far more than an expensive cocktail of powders. 

Not Warming Up

When some beginners warm up—if at all—they’re jogging for a few minutes on a treadmill and doing some stretches they learned back in Physical Ed. But this does nothing to prepare your muscles, joints, and nervous system to lift weights. Instead, do a comprehensive warm-up filled with dynamic stretches, activation exercises, and movement preparation to help your body feel great and lift a lot of weight. 

Ignoring Your Legs

When someone says, “I run for my legs” or “I don’t need to train my legs because I play tennis.” Running, tennis, biking, or any other exercise will never build the strength, size, and endurance in your legs that barbell exercises can do. Lifting weights also strengthens your bones and joints and builds total-body balance. Over time, strong legs lead to more gains, more growth hormones throughout the body, and even a stronger upper body. If you want to build a big and powerful physique, you must work your legs. 

Training to Failure

If you’re still training to failure every workout, you’re still a beginner. Your workouts must stimulate your muscles, not pulverize them. If you coax them into size and strength gains, they’ll happily respond, and you’ll advance for years. But if you batter your muscles every time, they’ll get fatigued, obstructing recovery and growth. A simple rule of thumb is to stop a few repetitions before failure to give your muscles a break. If you think eight reps is the maximum you can do for an exercise, stop at six. 

Missing Workouts

Beginners skip workouts if they’re feeling tired, sore, or lazy. They forget that the secret to building a fantastic body is simple: consistency. Honor the commitments you make to yourself. If you decide to work out on Mondays and Thursdays, schedule it in your calendar and get it done. If that’s too hard, cut your routine to just one day a week, but never skip it.

Working Out Too Often

There are, however, beginners who live in the gym, work out six times a week, and split their days between back and bis, chest and tris, shoulders, abs, arms, legs, and cardio. Unless you’re an elite athlete or a high-level bodybuilder, avoid working out too often; doing too much too soon will slow your progress (because of the constant fatigue) and lead to overtraining. For most beginners, three times a week is perfect—you’ll give your muscles, ligaments, and tendons ample time between each workout to recover, grow, and get stronger. 

If you want to find out where to start, sign up for a comprehensive fitness assessment. The results will broaden your understanding of your health and fitness goals while providing baseline measurements of your current endurance, strength, flexibility, and coordination. Get your free personalized fitness assessment today and find out where your greatest potential lies. CLICK HERE to schedule a free assessment.

NEW TREATMENTS TO BALANCE BODY, MIND & SPIRIT
 

LOMI LOMI MASSAGE 90 / 120 MIN

Known as the “loving hands massage”, this native Hawaiian healing practice is characterized by fast-flowing and rhythmic movements and a firm pressure massage choreographed to special music. Lomi Lomi Improves flexibility, reduces stress, and helps regain balance and clarity.

BAMBOO FUSION 90 / 120 MIN

This ancient Brazilian technique uses warm bamboo sticks to assist with stretching, joint mobility, and flexibility. Helps to eliminate stagnant toxins, and relieve stress, migraines, and lower back and arthritic pain. Leaves you in an extreme state of relaxation and well-being.

CHAKRA BALANCING 90 MIN

When our chakras are not in balance, the free flow of energy is impeded, causing physical, mental, and emotional disease. This massage works to unblock chakras, leading to optimum health. Seven essential oil blends are each used to massage the coordinating chakra to inspire quietness of the mind and deepening of the soul.

DETOX & DRAIN 90 / 120 MIN

A detox treatment that accelerates drainage to improve immune function–particularly effective for water retention, sinus build-up, digestion, joint swelling, tension, and fogginess.

HOT AND COLD STONE FACIAL 90 / 120 MIN

Hot and cold stones are used in this decadent facial to help reduce inflammation & improve circulation. Customized to your skin type, a special blend of oils improves elasticity and reduces or prevents signs of aging. Includes a relaxing hand & foot treatment.

Mindfulness and the Power of Nature Walks

Despite the fact that with the arrival of the cooler months we tend to stay at home more often, a walk in nature can be a healthy touch for our body and mind.

Autumn’s fiery tones and warm hues make it the best time of year to get outside and explore. Every successful mindful walk needs: a park or woodland, comfy boots, and a mind that will wander as far as your feet.

Even though the days are drawing in earlier, and it’s tempting to lock the doors, put a log on the fire, and binge-watch some Netflix, taking time outside is the best thing you could do for your mental health. Taking a mindful nature walk is a potent tool for being truly present and bringing calm to the rest of your week. Mindfulness meditation often uses the senses to anchor into the present; something we can utilize in nature. Expect to encompass all the senses are you venture into the wild this weekend.

Sight

Next time you’re out walking follow what is visually interesting, and scout a new route based on an interesting tree line, a building in the distance, or an area you have not explored before. Let your curiosity keep you playful and in the moment. The turn of autumn is perfect for this, as familiar routes can look like new territory when painted in browns and reds.

Sound

Find somewhere quiet and stop as still as possible. Now close your eyes and take great care to focus; what can you hear? Rustling leaves, birds singing, voices, or a road in the distance. Try to appreciate every sound and the depth in what felt like the silence before you stopped.

Touch

The feel of contact on the skin; wet moss or dewy ferns and crunchy leaves. Anchoring into touch can have you experiencing temperatures and textures that bring you into present awareness. It allows you to explore small corners or woodland fully with an appreciation for the small details.

Smell

Petrichor is a pleasant smell that frequently accompanies the first rain after a long period of warm, dry weather. You can smell rain still in the air and damp leaves on the ground. It’s these autumnal scents not only bring all the senses together but will guide you to a well-deserved mug of something warm and delicious to come back to for your efforts. When you do make it back to the warmth, with a log on the fire, you will do so with a new sense of calm, presence, and appreciation for all that autumn brings.

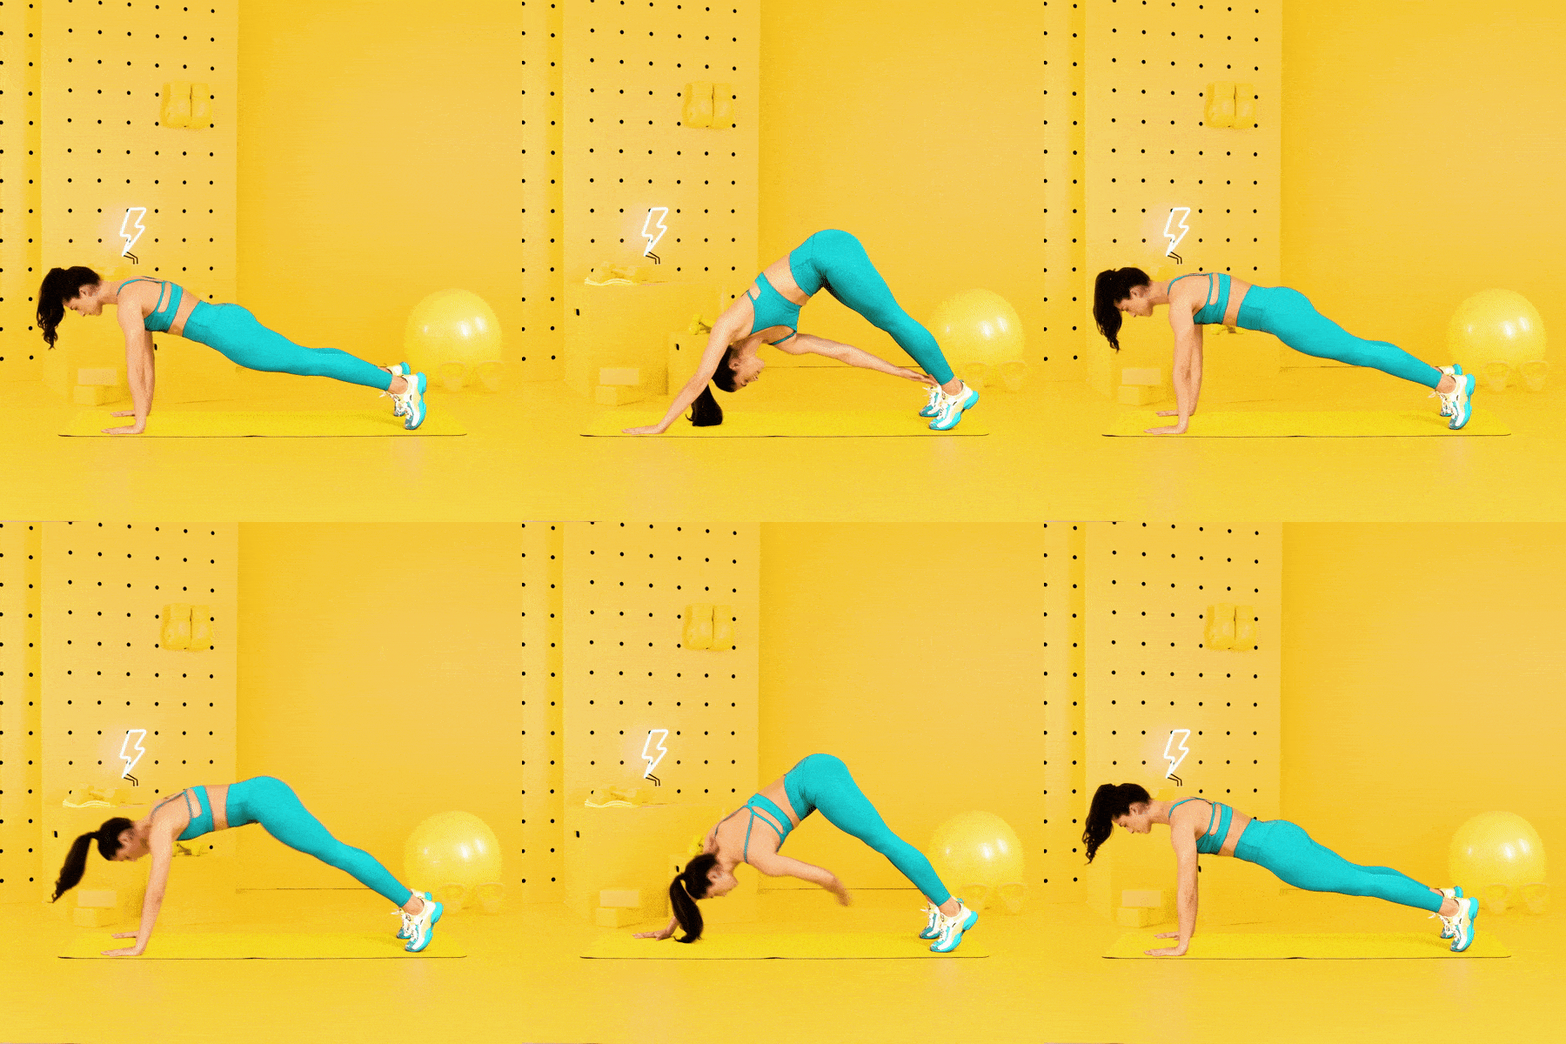
The Push-Ups You Should Be Doing

These creative twists promise bigger calorie burn, a more stable core, and a stronger upper body.

There’s a reason push-ups have stood the test of time—they work. It’s a multi-joint exercise that targets your pecs, triceps, deltoids, abdominals, and all of your key muscle stabilizers. Plus, it doesn’t require any equipment, so you can perform push-ups anytime, anywhere. The only catch is that in order to see results (and avoid injury), you have to do them correctly: Keep your head, neck, and spine in a neutral position, your abs engaged and your lower body muscles (hips, glutes, etc.) activated throughout the movement.


How it works: Perform one traditional push-up using good form. Work your way up to 3 sets of 8. Once you can complete those without faltering, you’re ready to move on to these variations. Mixing up your hand positioning and body movements will challenge different muscles, burn more calories and test your endurance. Tackle one of these exercises at a time. Do 2 or 3 sets of 8 to 10 reps, using proper form, and then move on to the next one.

1. Plank-Ups
Start in the push-up position (hands under shoulders, back flat, legs extended behind you, toes tucked under). Keeping upper body engaged, lower right forearm to floor, placing elbow under shoulder, then lower left forearm to the floor. Hold the plank for one count, and then rise back up to start, placing one palm on the floor at a time.

2. Mountain Climber Push-Up
Start in a push-up position, and bring the right knee in toward the chest; extend the leg behind you, and then immediately bring the left knee in toward the chest; extend the leg behind you. Perform a push-up, keeping elbows by sides. Repeat.

3. Bird-Dog Push-Up
Perform a push-up, keeping elbows by the sides. Extend your right arm in front of you and left leg behind you; hold the balance for one count, then lower. Do another push-up, and repeat balance on the other side (left arm; right leg). Repeat.

4. Push-Up Row
Start in a push-up position, gripping a kettlebell* in each hand, with palms facing each other. (*Note: The bigger the kettlebell, the more stable you will feel.) Bend elbows behind you, keeping them close to sides, lowering your chest toward the floor, and then press back up. Once up, pull the left elbow behind you, bringing the kettlebell up to the ribs; lower. Repeat the push-up and perform the row on the opposite (right) side. Continue alternating sides with each rep.

5. Uneven Push-Up
Start in the push-up position (hands under shoulders, abs engaged, back flat, legs extended behind you), with the left hand on top of the ball part of a horizontal kettlebell. Without rotating your torso, keeping your hips and shoulders square, bend your elbows behind you, lowering your chest toward the floor, and press back up. Do 8 reps; switch sides and repeat.

6. Side Plank Push-Up
Start in the push-up position (hands under shoulders, abs engaged, back flat, legs extended behind you). Lower your chest toward the floor, and then as you press back up, rotate your torso to left and keep your gaze on your left hand, as you lift your left arm and leg toward the ceiling, forming an X with your body. Hold for one count; rotate back to high plank and repeat.

7. Sliding Push-Up
Start in a push-up position (hands under shoulders, abs engaged, back flat, legs extended behind you), with a towel under your left palm. Slowly slide your left hand forward, as you bend your right elbow behind you and lower chest toward the floor. Without falling flat, extend the left arm as far forward as possible, and then slowly slide back up to start, keeping the arm straight throughout. Do 8 reps; switch sides and repeat.

8. Stability Ball Scissors
Start in a push-up position (hands under shoulders, abs engaged, legs extended and together behind you), with the tops of feet centered on a stability ball. Bring your right knee in toward your chest, then rotate your torso slightly as you extend your leg out, parallel to the ground. Perform a push-up, keeping the body squared up as much as possible. Reverse motion back to start. Repeat on the left side. Continue alternating sides with each rep.

9. Traveling Push-Up
Start in a push-up position (hands under shoulders, abs engaged, legs extended behind you). Perform a push-up, and then step your right leg under and to the left of your left leg and right hand under and to the side of your left hand. Step left hand and leg over the right, moving back into the push-up position. Perform a push-up, and then reverse motion (left hand/leg steps over right; right goes under left) back to the right (ending where you started.

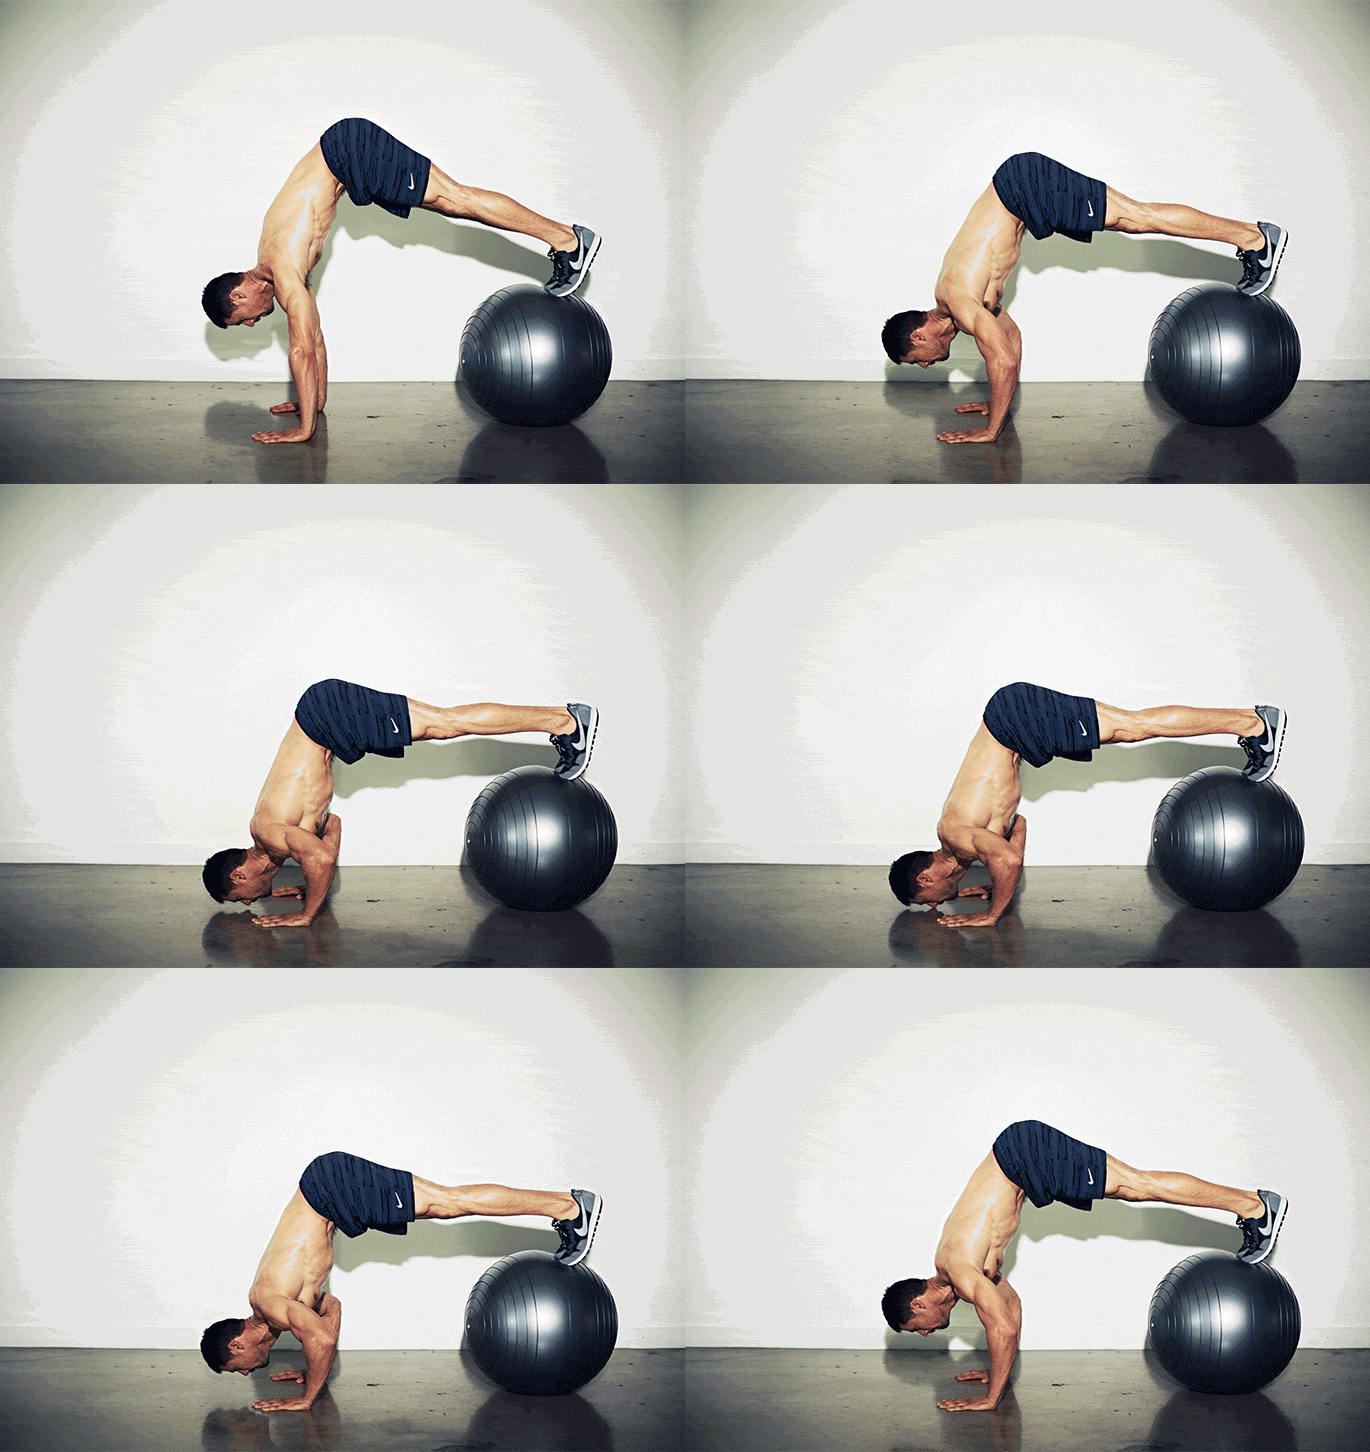
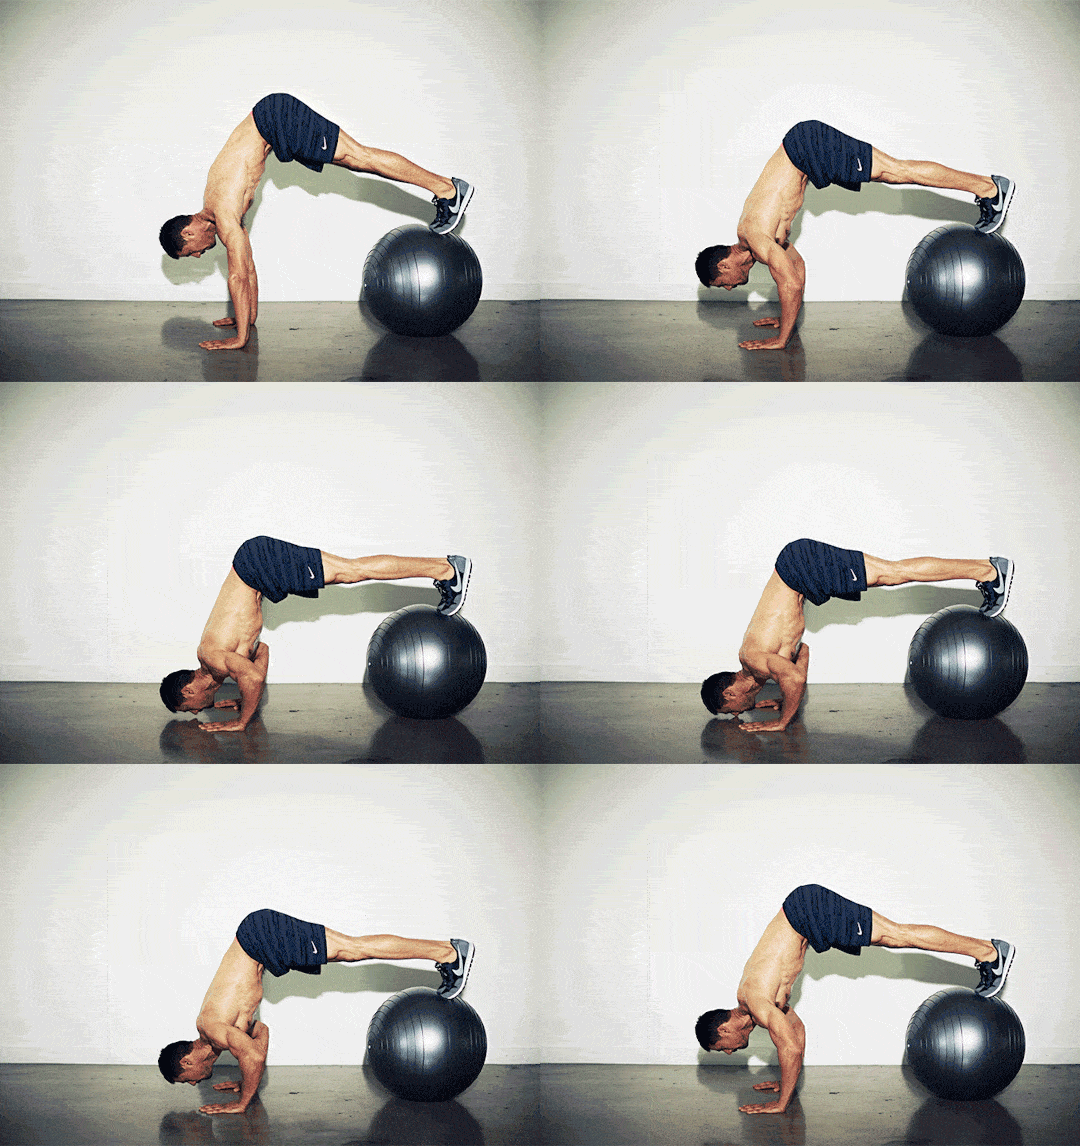
10. Pike Push-Up
Start in a pike position (upside down “V”), with palms under shoulders, toes centered on top of a stability ball, legs together, and hips raised toward the ceiling. Keeping your lower body still, bend your elbows behind you, slowly lowering your head toward the floor; carefully press back up to start.

A healthy twist on the holiday classics.

If you'd rather eat smartly than skimp this Thanksgiving, we have two go-to homemade recipes with a twist on a traditional pumpkin pie and apple pie.

Crust Ingredients:
1 cup pecans
1/2 cup oat flour
1 cup dried pitted dates
1 tsp pumpkin pie spice
1/2 cup boiling water

Crust Directions: Put all ingredients into your blender or food processor and process until smooth. You may need to scrape the sides of your blender with a spoon a few times. Scoop the batter into a 9″ pie dish sprayed with Pam. Sprinkle the top of the dough with oat flour and use your fingers to press the crust down as evenly as possible, pushing the dough up the sides of the pie plate. Once the dough is well spread, bake it at 350 degrees for 10 to 12 minutes, or until it is no longer gooey to the touch.

Pumpkin Pie

Ingredients:
2 cups pumpkin purée (not pumpkin pie filling)
1 cup cashew butter
1/2 Tbsp + 1/2 tsp pumpkin pie spice
3/4 cups maple syrup
3 Tbsp cornstarch

Directions:
In a stovetop pot, mix together the pumpkin purée, cashew butter, pumpkin pie spice, and maple syrup. Put the corn starch in a measuring cup and add cold water so that the corn starch is covered; stir until the cornstarch is completely dissolved. Once dissolved, add the cornstarch mix to the stovetop pot and mix well. Cook on medium-high heat, stirring continuously. Cook until batter starts to boil and the mixture thickens (this usually happens about 2 minutes into boiling). Once the batter has thickened, pour the contents of the pot over the pie crust. Top the pie with a few pecans, if desired. Allow the pie to cool, then transfer to the fridge. Chill for 4 to 6 hours before serving.


Apple Pie

Ingredients:
6 macintosh apples diced into 1″-2″ pieces
1/2 cup maple syrup
1 cup unsweetened applesauce
1/2 Tbsp + 1/2 tsp cinnamon
3 Tbsp cornstarch

Directions:
Dice the apples into 1-to-2 inch pieces; place in a microwave-safe bowl and microwave for about 10 to 12 minutes. Next, transfer the apples into a stovetop pot and add all remaining ingredients with the exception of the corn starch. Mix well. Put the cornstarch in a measuring cup and add cold water so that the cornstarch is covered; stir until the cornstarch is completely dissolved. Once dissolved, add the cornstarch mixture to the stovetop pot and stir well. Cook on medium-high heat, stirring continuously. Cook until the pie filling starts to boil and the mixture thickens (this usually happens about 2 minutes into boiling). Once the batter has thickened, pour the contents of the pot over the pie crust. Top the pie with a few pecans, if desired. Allow the pie to cool before transferring to the fridge. Chill for 4 to 6 hours before serving.

The 5-Ingredient Pumpkin Protein Pancakes

Recipe and photography by Taylor Stinson of The Food on Bloor Blog

These 5-Ingredient Pumpkin Protein Pancakes are a healthy and delicious breakfast idea that can be frozen and reheated in the toaster.

Servings: 8 pancakes Calories: 156 kcal | Prep Time: 10 minutes | Cook Time: 20 minutes

Ingredients

  • Pam cooking spray

  • 8 egg whites

  • 1 cup pumpkin puree

  • 2 cups vanilla protein powder (I used whey protein)

  • 1 tsp pumpkin spice (or a mix of cinnamon, nutmeg, and ginger)

  • 1 tsp baking powder

Topping ideas

  • Shredded coconut

  • almond butter

  • pumpkin seeds

  • Chopped walnuts or pecans

  • maple syrup

Instructions

  • In a large bowl, mix all ingredients for pancakes together until just combined.

  • Spray Pam in a large frying pan over medium heat. Add a small spoonful of pancake mixture to test, making sure the skillet is hot enough to add pancake batter. Once the bottom of tester pancake starts to form, flip and then remove from heat.

  • Add pancake batter by large ladle scoop, cooking four pancakes at a time and flipping once a bottom starts to form, about 5 minutes.

  • To freeze, store the pancakes flat in a Ziploc bag and freeze them for 2 to 3 months. In the morning, all you have to do is throw them in the toaster for 1-2 minutes or reheat them in the microwave for 2-3 minutes. Top with optional toppings and serve!

  • You can store the leftover pancakes in glass containers or a Ziploc bag for up to 7 days in the refrigerator.


Nutritional info is for 2 pancakes with no toppings.

The Guilt-free PSL (Pumpkin Spice Latte)

We are obsessed with all things pumpkin this month. We love pumpkin lattes but hate the calories. Try this yummy guilt-free substitute.⁠

Skinny Pumpkin Spice Latte⁠
Servings 1⁠
Calories 172 cal per serving⁠
(A Starbucks grande pumpkin spice latte with 2 percent milk and whipped cream is 380 calories)⁠

Ingredients⁠

1.5 cup Milk, SO Delicious Coconut Milk, unsweetened, ⁠
1 tbsp Maple Syrup ⁠
3 tsp Vanilla Extract ⁠
1/4 tsp Pumpkin Pie spice ⁠
2 tablespoons Libby's Pumpkin Puree⁠
1 serving Starbucks Via instant Colombia Coffee⁠
2 tbsp Reddi Whip Fat-Free Whip Cream ⁠

Instructions⁠
Place coconut milk, maple syrup, vanilla, pumpkin pie spice, and the pumpkin in a small saucepan. Bring to a simmer; stir in instant coffee; transfer to a mug. Top with whipped cream, if desired. ⁠

Fall fitness classes

Get fit for fall with 30-minute classes that are a perfect balance of strength and cardio.

The Hammam Treatment-a purifying ceremony for body & soul

RECEIVE 10% OFF ANY RED FLOWER HAMMAM PRODUCT WITH CODE HAMMAM10 AT CHECKOUT. CLICK HERE

Red Flower Hammam Treatment

Literally translated as the spreader of warmth, Hammam elevates this body treatment beyond self-care into a collective restorative experience. The 90-minute Red Flower Hammam Ritual is unlike any other service The Spa at Yellow Creek offers. This decadent treatment connects you to a full sensory experience as your entire body is enveloped in the scents and textures of the oils and creams crafted with all-natural ingredients culled from ancient beauty and health rituals from Asia to Africa.

Hammam is a ritual rooted in the traditions of Turkish bathhouses. A sensory experience—the body is taken through a series of heat, steam, massage, detox, energy, and renewal. The ritual begins with an exfoliation with a lemon coffee olive stone scrub followed by a detoxifying clay mask. After cleansing, a soft water mist and a massage with cardamom amber oil follow. A tangerine fig butter cream application closes the ritual, ending with a peaceful feeling.

Red Flower Hammam

Receive 10% off any Red Flower Hammam product with code HAMMAM10 at checkout.

A guide to the most effective anti-aging skincare routine

What are your skincare goals? If you're like most people, you want healthy, radiant skin, no matter what your age is. One way to keep your skin youthful and glowing is to adhere to a daily routine composed of anti-aging skin care products. Sounds good, but where do you begin?

While we'd always recommend consulting with a dermatologist for specific issues or targeted concerns, we've compiled an effective anti-aging skincare routine to get you started. Consider this morning skincare routine and nighttime routine a guide to anti-aging skincare and the first building block as you develop a strong foundation for beautiful, fresh, and (most importantly) healthy-looking skin.

Whether you're just getting into anti-aging ingredients in your early 20s or looking to treat existing signs of aging on mature skin like wrinkles and fine lines, using basic products like a good moisturizer, sunscreen, retinol, and eye cream is the key to unlocking younger-looking skin. Check out our simple skincare routine for an easy way to keep your skin healthy and prevent common issues as you age.

WHAT IS ANTI-AGING SKINCARE?

Anti-aging skincare is an approach to skincare that seeks to produce healthier skin while minimizing the preventable signs of aging. Aging is natural and many people wear laugh lines and gray hair with pride. However, some lifestyle habits, like smoking, sun exposure, or a poor diet, make signs of aging even more visible. Anti-aging products aim to reduce these preventable causes of aging, not to entirely reverse the natural aging process.

SKIN CONCERNS AS YOU AGE

As your skin ages, it physically changes. Unfortunately, not all of those changes are pleasant, but the right skincare combinations can help minimize the common issues and make aging feel more graceful. Some common skin concerns that crop up as you age include:

  • Dry skin. Because your oil glands reduce in number as your skin ages, your skin is less oily, making it more prone to dryness.

  • Wrinkles. Your body's natural collagen production slows as you age, which can cause wrinkles to be more visible. Collagen is the protein that keeps your cells firm and plump. Mature skin, which contains less collagen, is more lax and loose.

  • Dark spots. Over time, sun exposure causes age spots, areas of hyperpigmentation on the skin that appear darker than the rest of your skin. People with darker skin tones are less likely to be affected.

MORNING ANTI-AGING SKINCARE ROUTINE

You don't need an arsenal of luxury items or a separate savings account to keep your skin youthful, just the right lineup of effective products. After a good night of beauty sleep, here are our product recommendations for the best anti-aging skincare routine to start your morning off right.

STEP 1: CLEANSE WITH A GENTLE CLEANSER

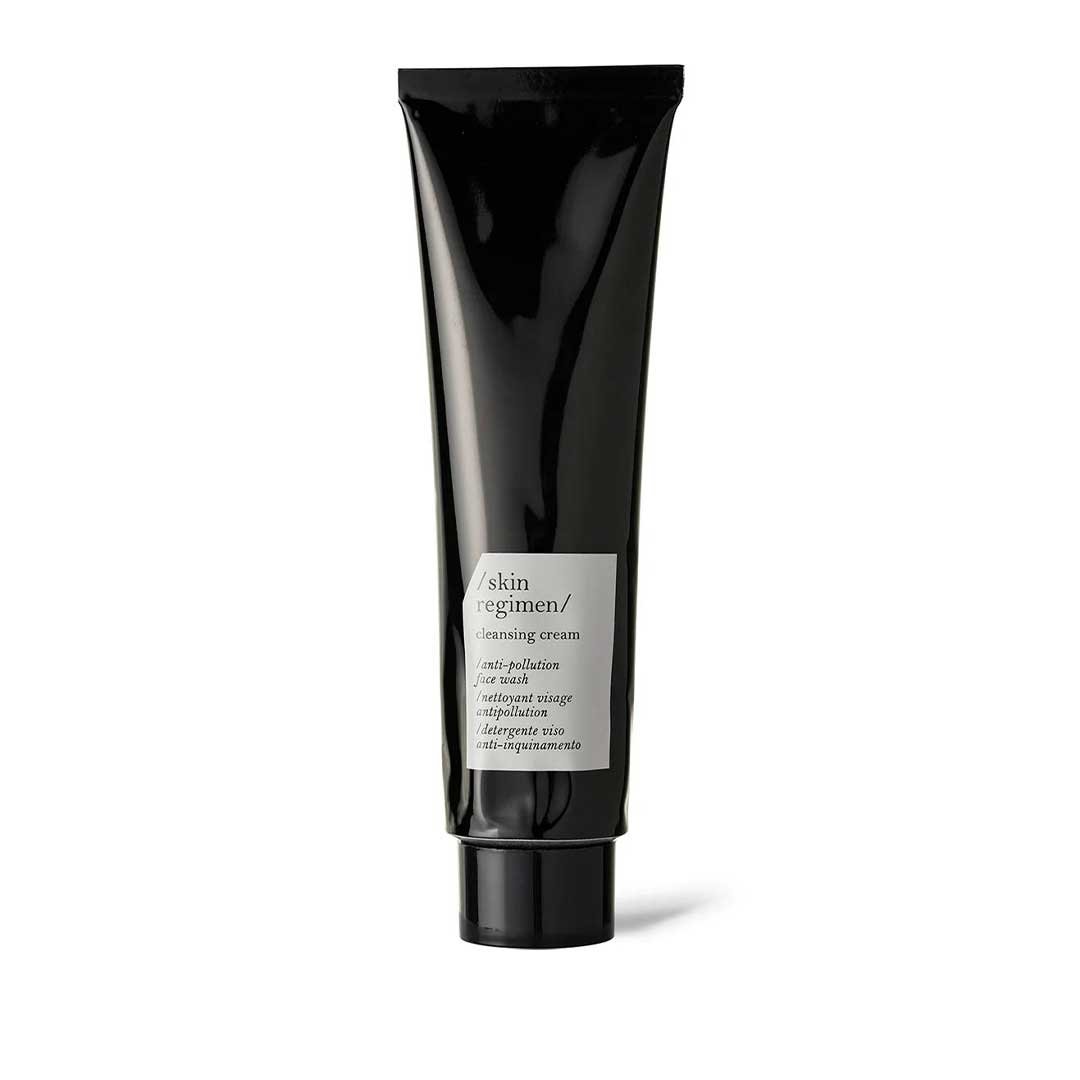
You may have gone to bed with clean skin, but 8 hours of accumulated skin oil means you're waking up with oily skin. It's time for a little rejuvenation with a gentle facial cleanser. The right face wash will leave skin optimally balanced, so make sure to pick a cleansing cream that's gentle and non-drying. Wash with cool water in the morning to invigorate your skin for the day.

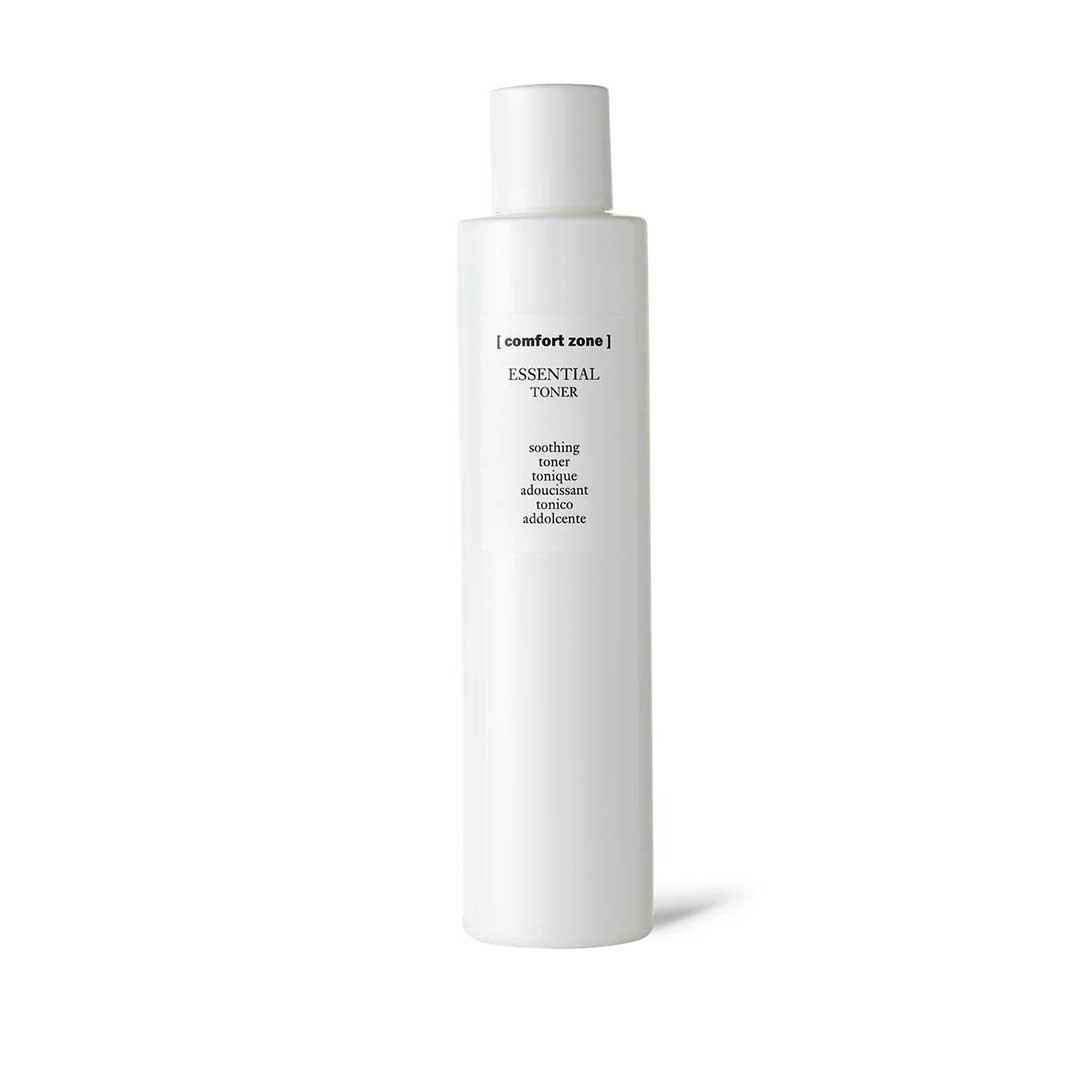
If you have oily or acne-prone skin, you'll also want to use an alcohol-free toner. Once your skin is clean, apply a small amount of toner onto a cotton ball and gently wipe your face. Making this a necessary part of your anti-aging skincare routine morning and night after cleansing helps remove excess oil and tighten your pores, revealing smoother-looking skin.

STEP 2: APPLY ANTI-AGING SERUMS FOR BRIGHTER SKIN

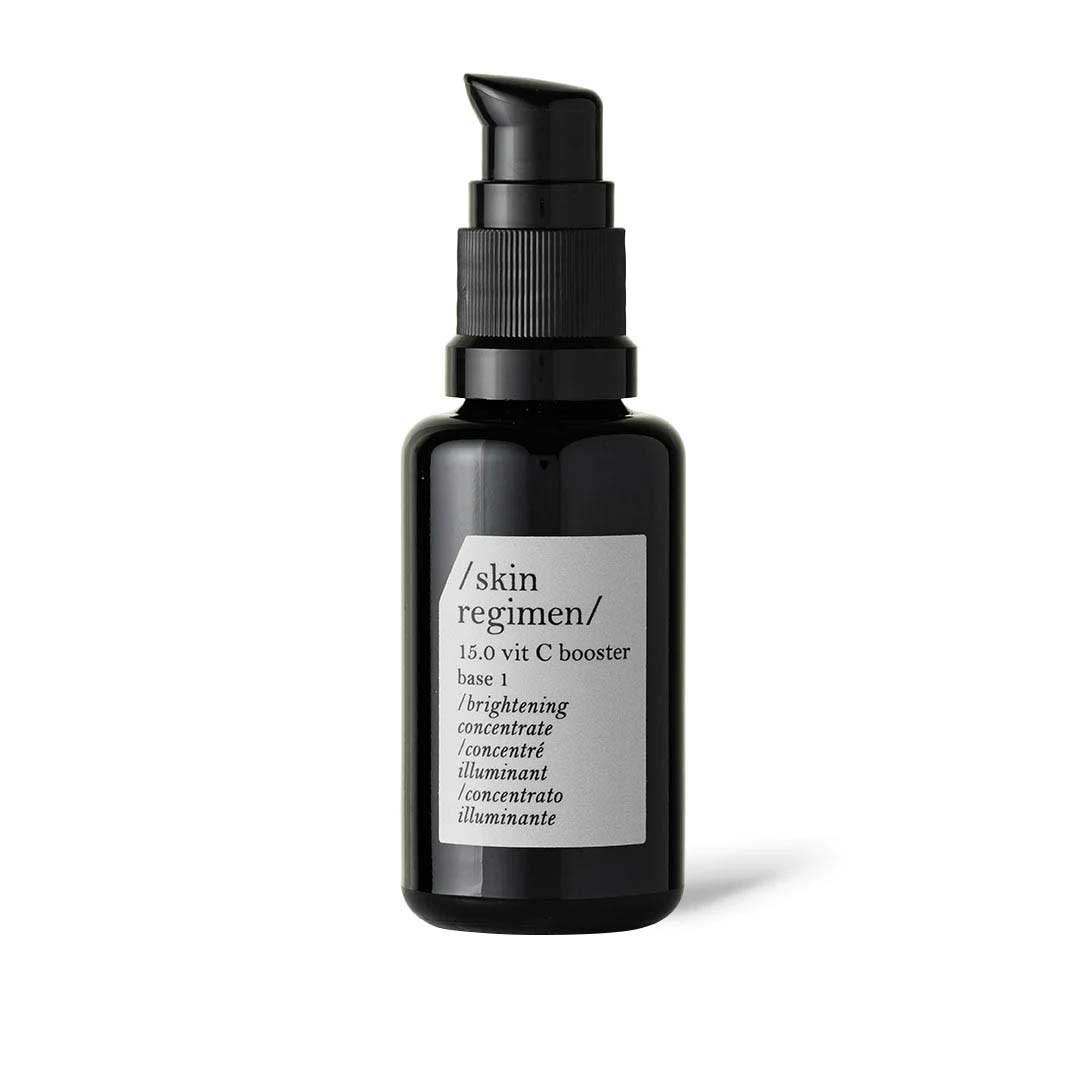
After your cleansing routine, it's time to give your skin the specialized anti-aging attention it craves with anti-aging serums. We'd recommend either a vitamin C booster or a hyaluronic acid serum. A vitamin C booster is an anti-aging powerhouse—not only does it help treat and prevent wrinkles, but this concentrate also helps to improve the appearance of dark spots, uneven skin tone, and enlarged pores. Your complexion will look brighter, more radiant, and more even after your vitamin C treatment.

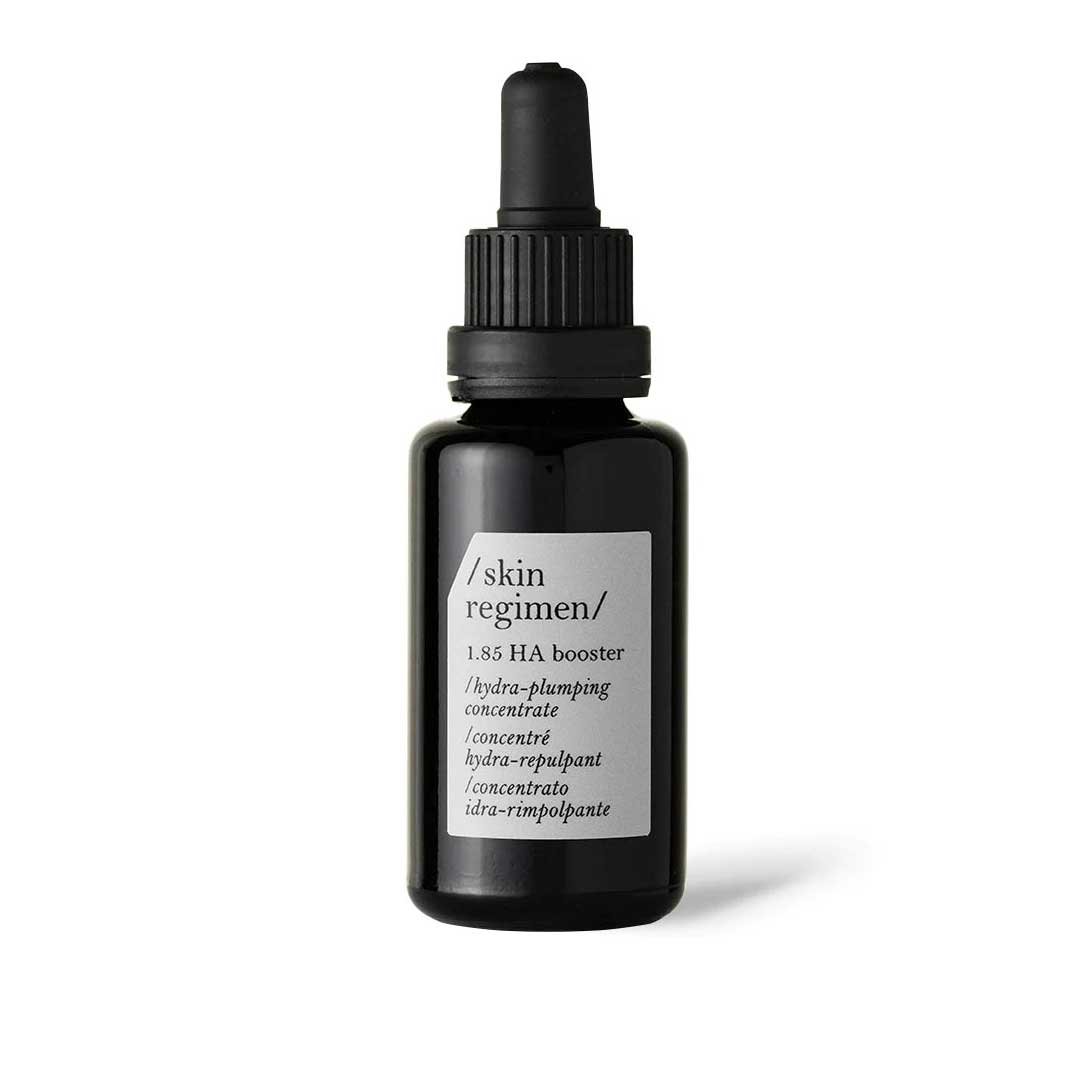
For targeted and prolonged hydration, a hydrating serum with hyaluronic acid is a great choice. Since dehydration is a major factor causing the skin to look older (as if you need more motivation to drink plenty of water), adequate moisturization is key to any daily routine. Hyaluronic acid locks in moisture while providing instant plumpness that reduces fine lines and dull skin.

When applying any anti-aging serum, be sure to pat (don't rub) it into your skin.

STEP 3: ADD A FEW DROPS OF FACE OIL

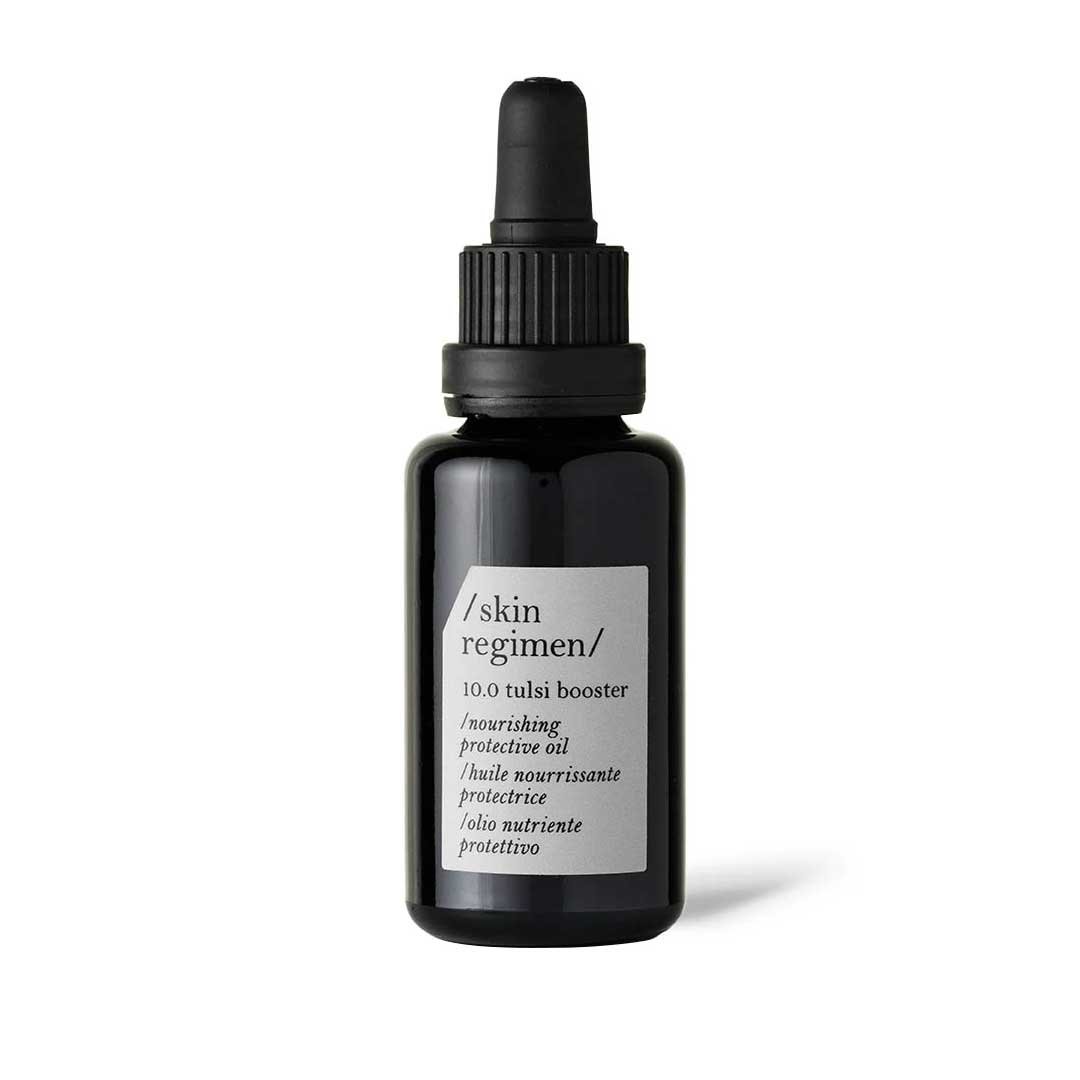
Sometimes your skin needs a little extra boost of targeted nourishment, especially during the colder months. Enter a hydrating face oil. Simply apply a few drops of moisturizing face oil, such as tulsi oil, after your serums as needed for natural hydration. Tulsi (or “Holy Basil”) is an Indian herb known to restore moisture and add antioxidant protection. This key ingredient also has adaptogenic properties, meaning it helps to safeguard your body against the effects of stress, eliminating toxins and inflammation in the skin.

STEP 4: PERFORM AN EYE TREATMENT

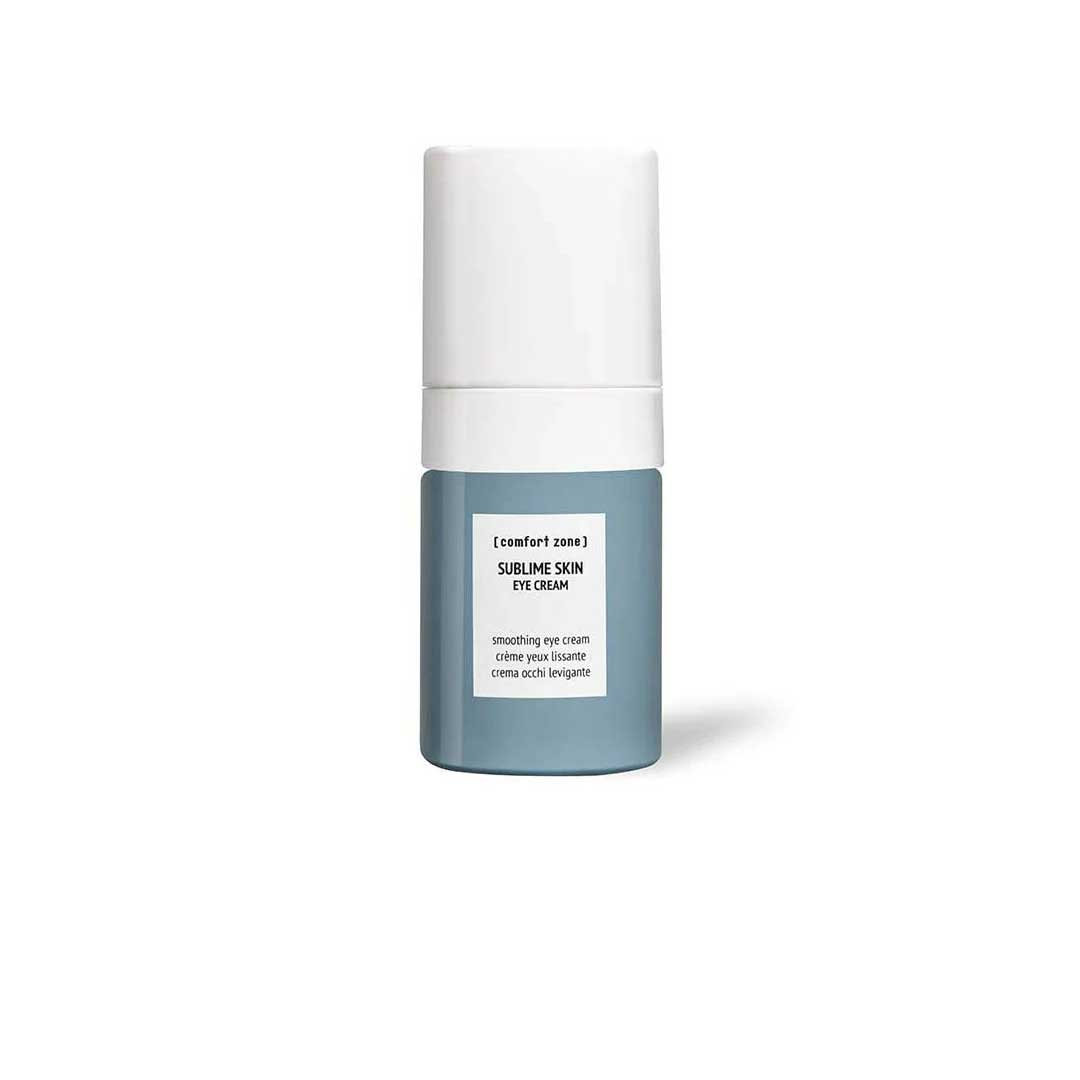
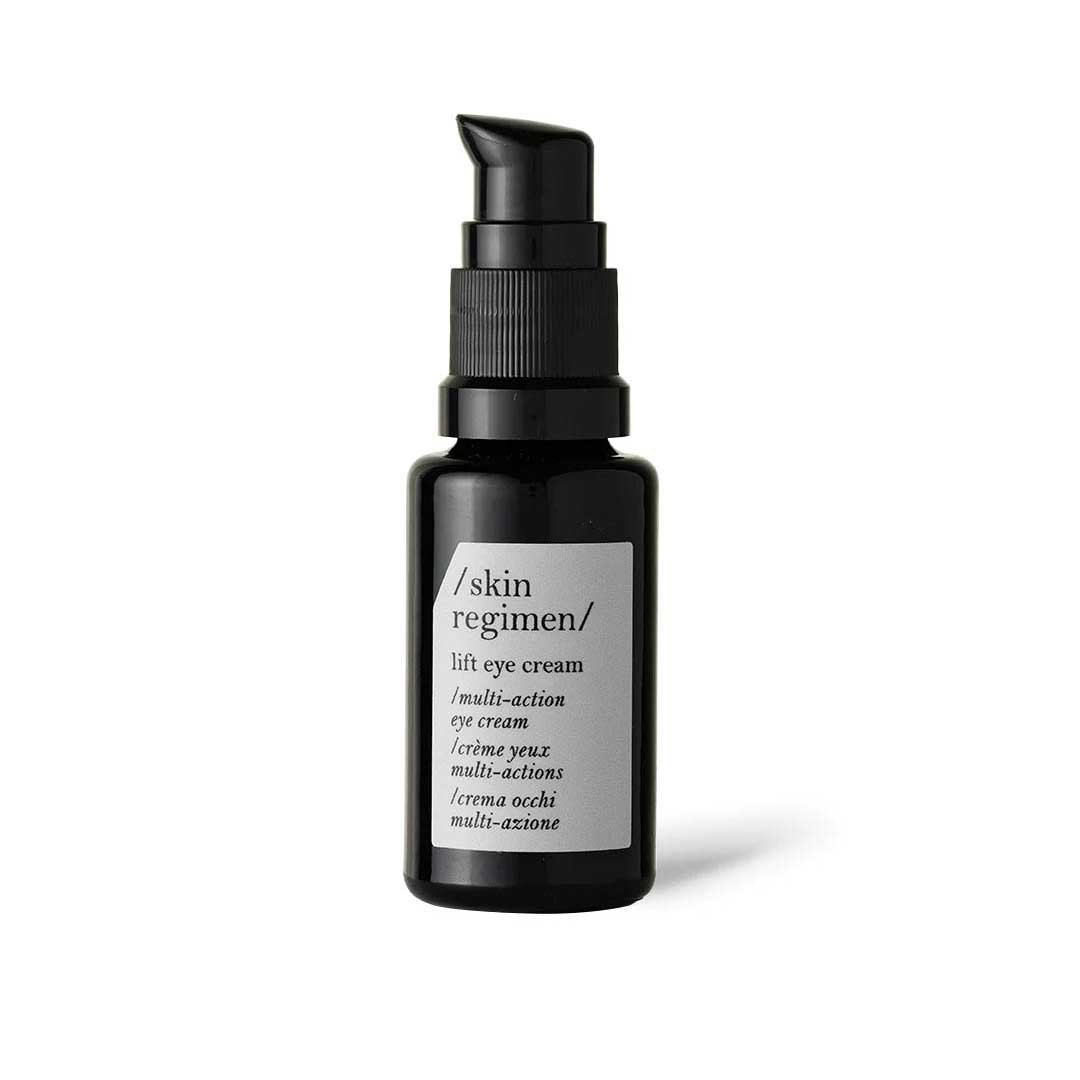
Most people focus on an anti-aging skincare routine that targets the face, but delicate areas such as your neck, hands, and eyes are also very susceptible to early signs of aging. Kick fine lines to the curb by applying a caffeine eye cream as a part of your morning skincare routine. A moisturizing eye cream works to fight common eye area issues like crow's feet, puffiness, and dark circles, gently lifting the delicate skin around your eyes with a light texture.

To use, apply a small amount of the eye cream under your eyes and on the eyelids and gently tap until completely absorbed. For anyone who spends a lot of time working in front of a computer screen, try applying some eye cream as a midday pick-me-up to fight eye strain and fatigue. A formula with caffeine will provide your eye area with the extra boost it needs to shrink blood vessels and reduce puffiness at the perfect time.

STEP 5: ADD DAILY MOISTURIZER TO MINIMIZE VISIBLE SIGNS OF AGING

Next, one of the most important steps in any skincare routine—moisturizing. A peptide cream is a powerful product that helps to smooth fine lines, firm skin, and reduce moisture loss; as such, it's a key part of your morning skincare routine.

To use, apply the moisturizer to your face and neck after any serums and cleansers. Start from the center and massage outwards. If you can find a little extra time in the morning, use this opportunity as an ideal time to treat yourself to a mini facial massage. There's no easier way to guarantee a good day than a little at-home spa treatment.

STEP 6: FINISH WITH SUNSCREEN TO PREVENT SUN DAMAGE

You don't need to have a 5-hour beach day ahead of you to justify applying some SPF. Regardless of the time of year, sunscreen has many anti-aging benefits. For example, exposure to UVA and UVB rays can mean sun damage, which is one of the main culprits of premature signs of aging. To ensure your skin is protected against the elements, apply a lightweight formula of facial sunscreen after your moisturizer.

If you're someone who uses foundation after your skincare routine, it can also be beneficial to look for one that has SPF protection built-in—in the off chance you forget to apply your sunscreen during the skincare steps, you know your face is protected.

EVENING ANTI-AGING SKINCARE ROUTINE

You may have left the house with glowing, beautiful skin, but exposure to pollutants, harsh weather, and the build-up of natural oils throughout the day mean that it's time to do a revised version of your morning anti-aging skincare routine. Having a nighttime skincare ritual not only ensures that your skin will be hitting the pillow clean and refreshed, but it also creates a relaxing and pampering wind-down routine at the end of the day.

While we'll be adding some new anti-aging tools into the mix, most of the products you'll use for your nighttime routine will be the same as those in your morning routine—a trick that makes your routine easy to remember and less of an investment.

STEP 1: CLEANSE WITH WARM WATER

Ready to remove a day's worth of oil build-up, makeup, and pollution? Start off your nighttime skincare routine by washing your face with a gentle cleanser. Apply a cleansing cream with lukewarm water to your skin, massaging in a circular motion until you've created a gentle foam. While cool water helps to revitalize you in the morning, warm water is a soothing way to unwind at night while taking care of your skin.

Just like in the morning, those with oily or acne-prone skin should follow their cream cleanser with an alcohol-free toner to restore the optimal balance of their skin. If you wear a lot of makeup during the day or if your skin feels a little grimier than usual, it might be necessary to double cleanse before moving on to the next step.

STEP 2: EXFOLIATE FOR RADIANT SKIN

Now that your skin is prepped, it's time for an even deeper clean. Aging slows down cellular turnover, which means your skin can't be replenished as quickly as it once was. Slower cellular turnover can result in a buildup of dead skin cells, which makes your complexion look uneven, dull, and dry. Exfoliating gently removes pollutants and dead skin cells, leaving you with a brighter and more youthful-looking complexion. Exfoliating a few times per week not only helps to unclog pores and even out your skin tone, but it also primes your skin to better absorb any serums or moisturizers you'll be adding after. Gently massage the exfoliant into your skin, making sure to avoid the delicate eye area. If you have sensitive skin, you may need to reduce the frequency of exfoliation.

STEP 3: APPLY HYALURONIC ACID OR RETINOL TO PREVENT MOISTURE LOSS OVERNIGHT

Hyaluronic acid serum keeps your skin moisturized and plump during the day, so add on another layer before taking your beauty sleep. Add a few drops to your face and neck after cleansing, concentrating the serum in areas where you have the most noticeable fine lines and wrinkles, and gently pat it on your skin until it's completely absorbed.

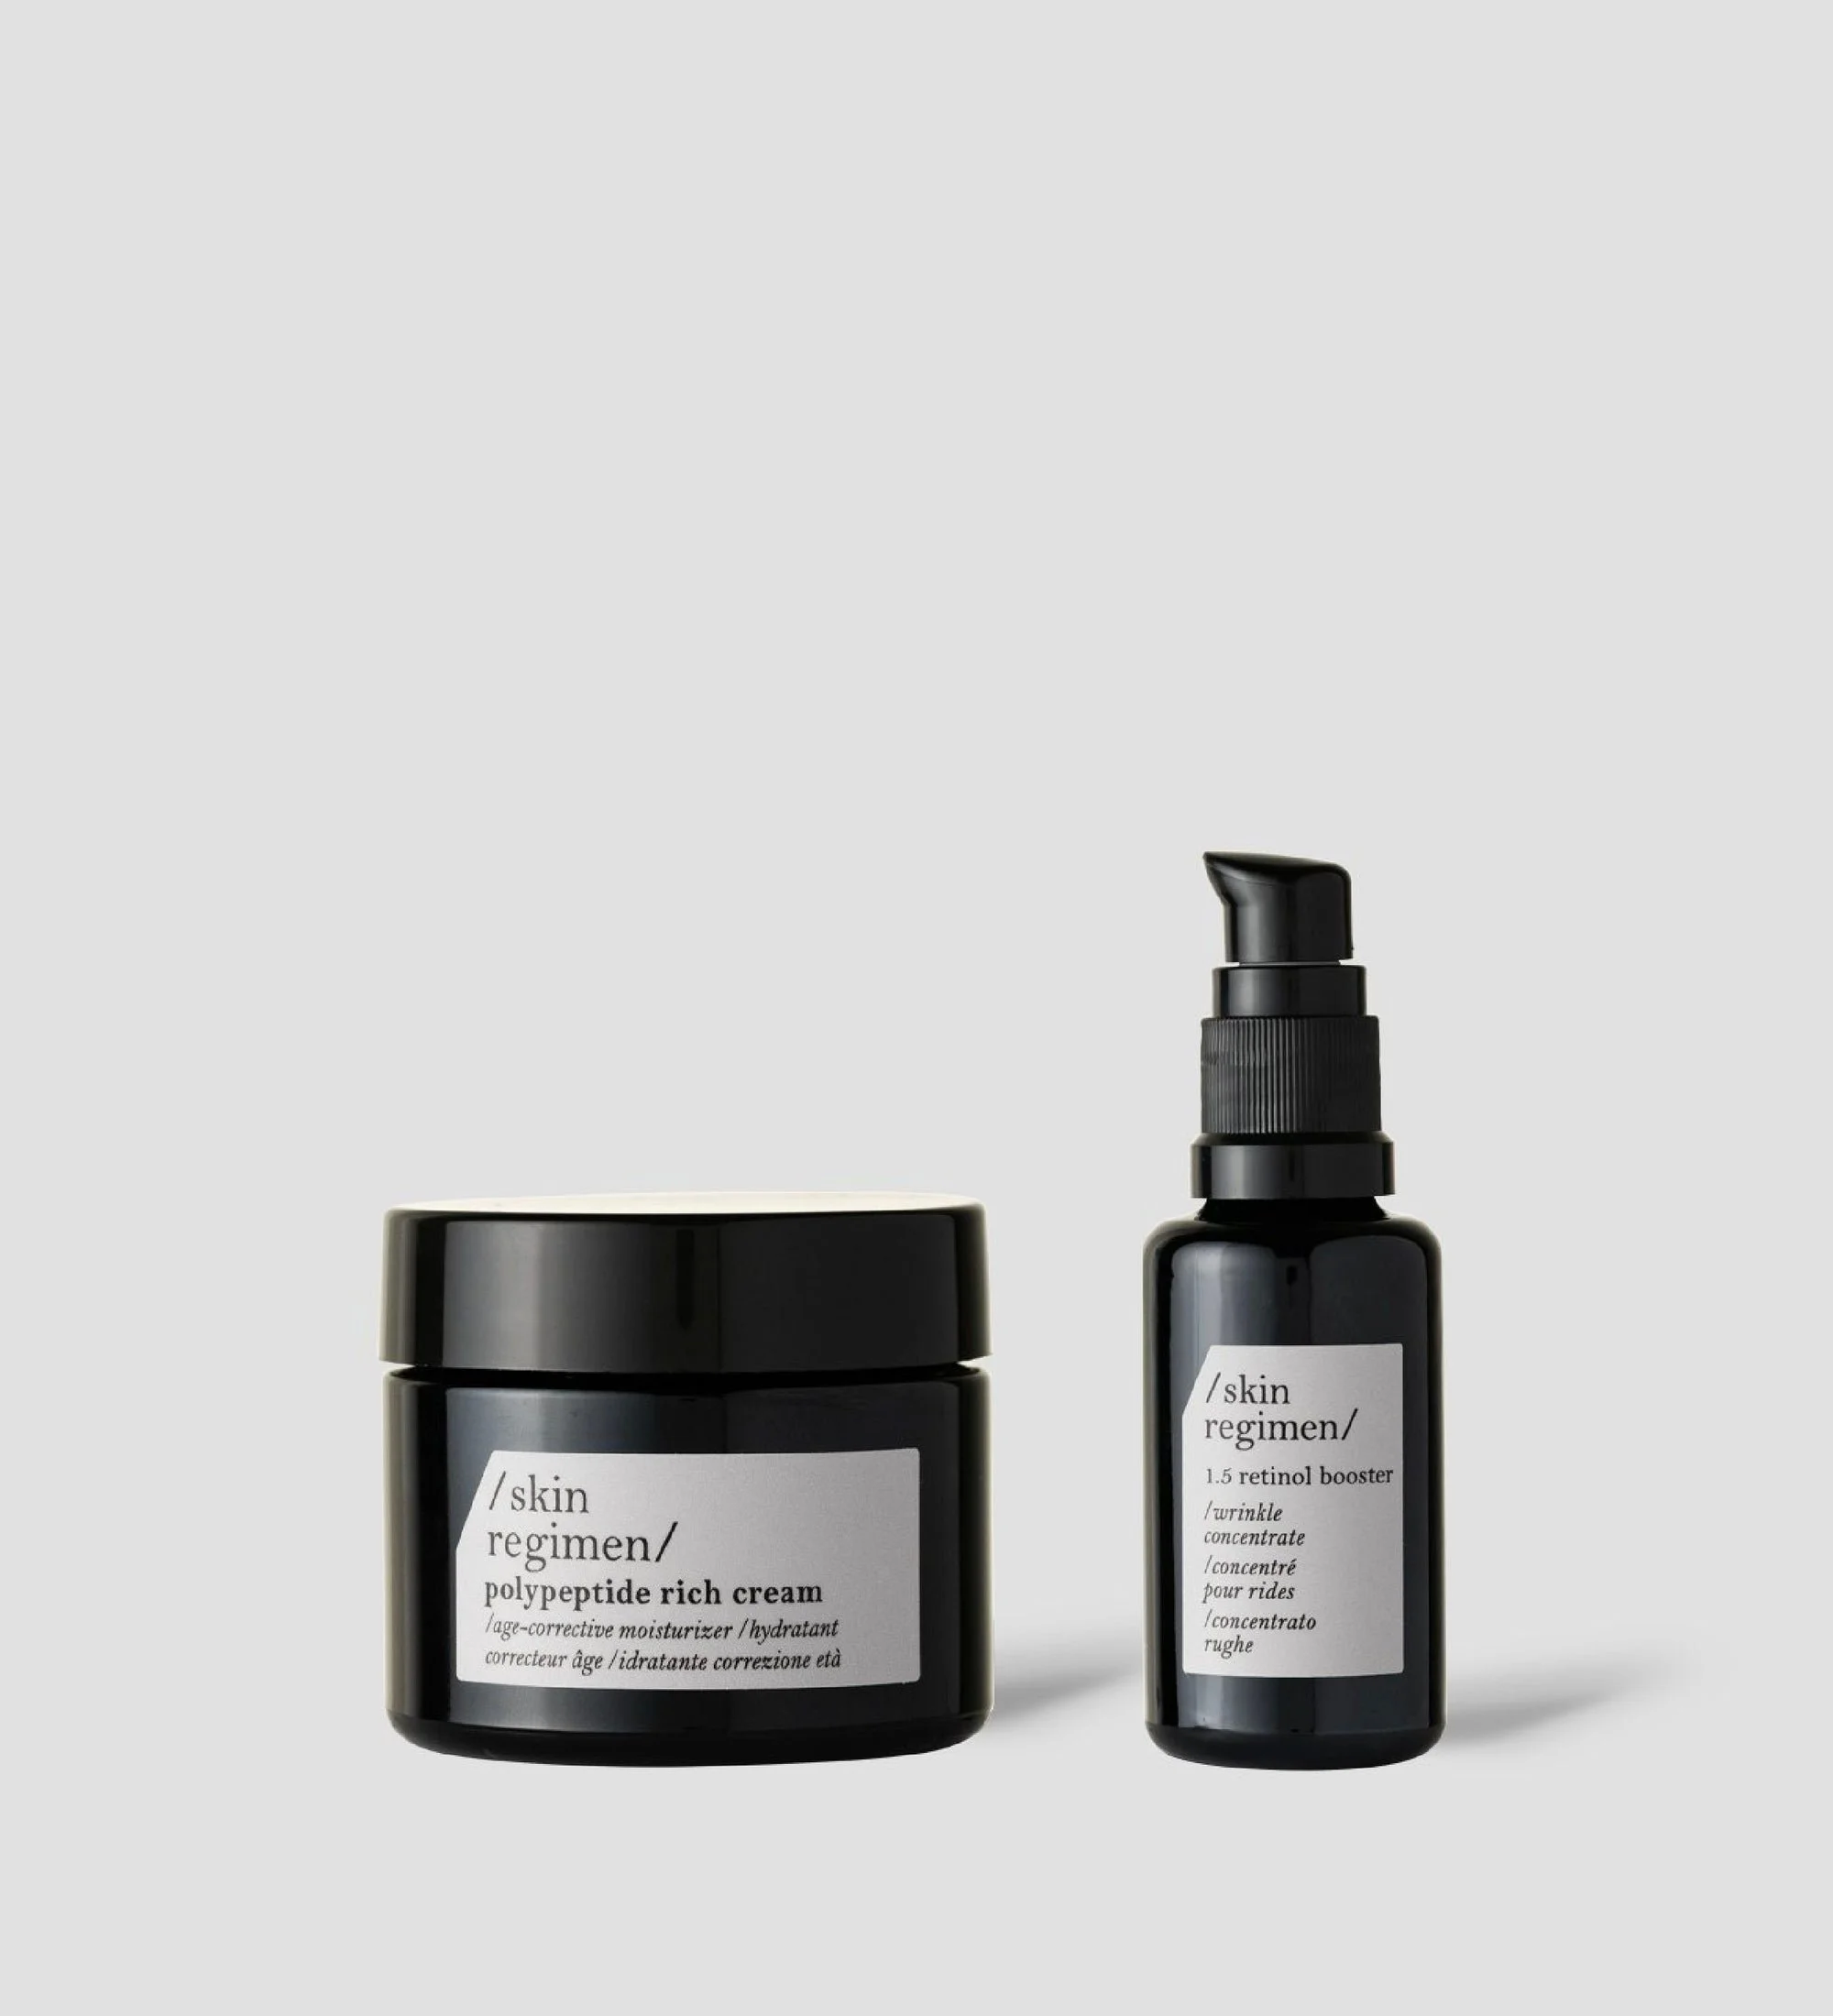
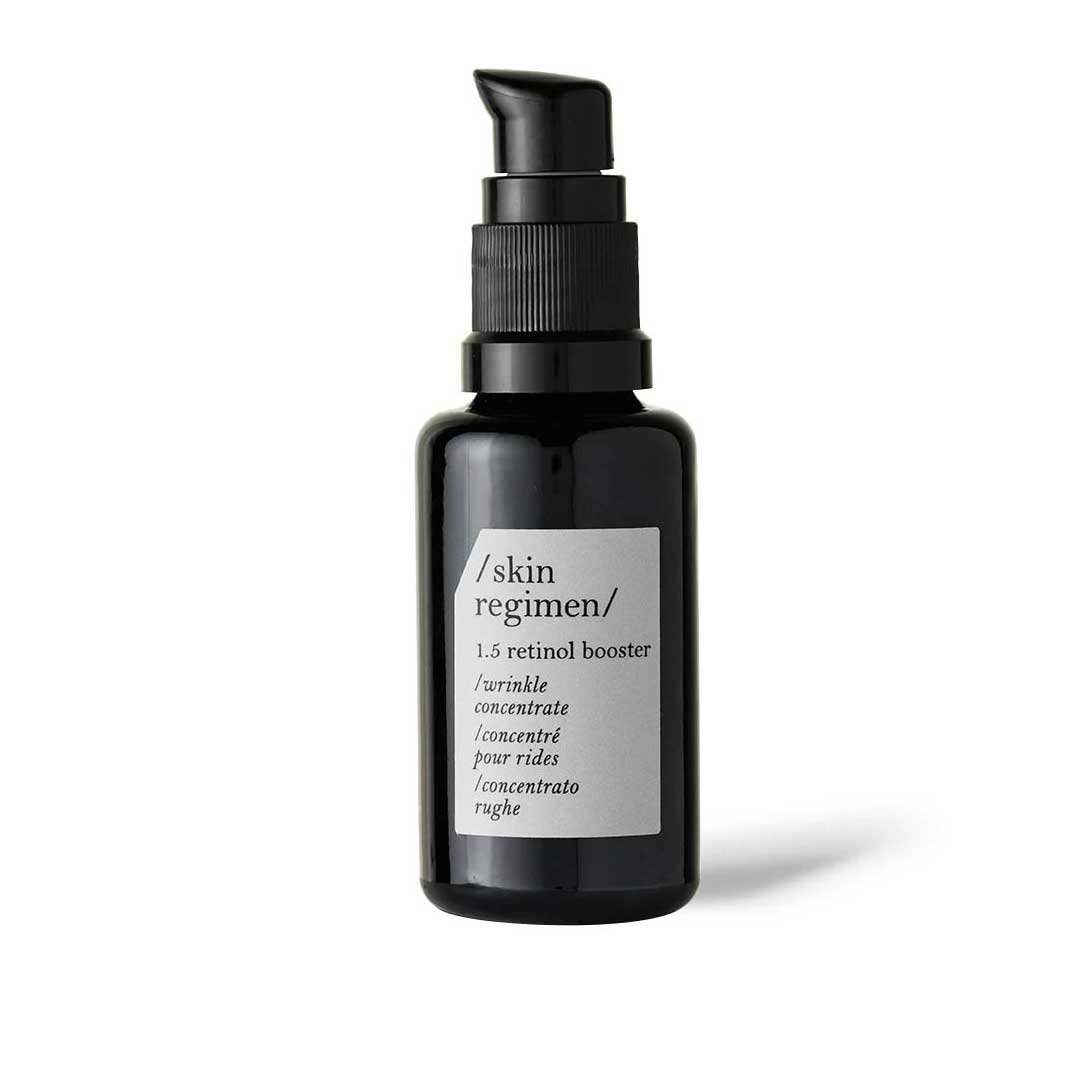
If you're looking for a more in-depth anti-aging routine, layering on a natural retinol serum is an absolute must. Retinol is recommended to visibly fight wrinkles and correct signs of aging while also improving the firmness of the skin. This concentrated retinol booster from /skin regimen/ combines different vitamins and extracts for the most intensive, results-driven experience possible. Tissue regeneration is stimulated, while the effects of aging and stress are counteracted.

After cleansing, apply a few drops of retinol serum to your neck and face, patting it into your skin for maximum absorption. It's important to note that retinol serum should be applied at night for a few reasons: it increases your skin's sensitivity to UV rays, and sunlight itself can decrease the effectiveness of the product. Additionally, on the off chance that you went a little heavy on sun exposure during the day, retinol is actually a great treatment to help renew skin after sun damage.

STEP 4: ADD AN ANTI-AGING EYE CREAM

Anti-aging eye cream is just as important in the evening as it is during your morning skincare routine. Show your eyes some love (and fight the signs of aging) after a day spent looking at blue light, squinting to see things far away, or being exposed to environmental pollutants. Feel free to use a separate eye cream with night-specific formula, or use the same eye cream you use for your morning routine. Application is the same—pat the cream or eye serum under your eyes and directly on your eyelids until completely absorbed.

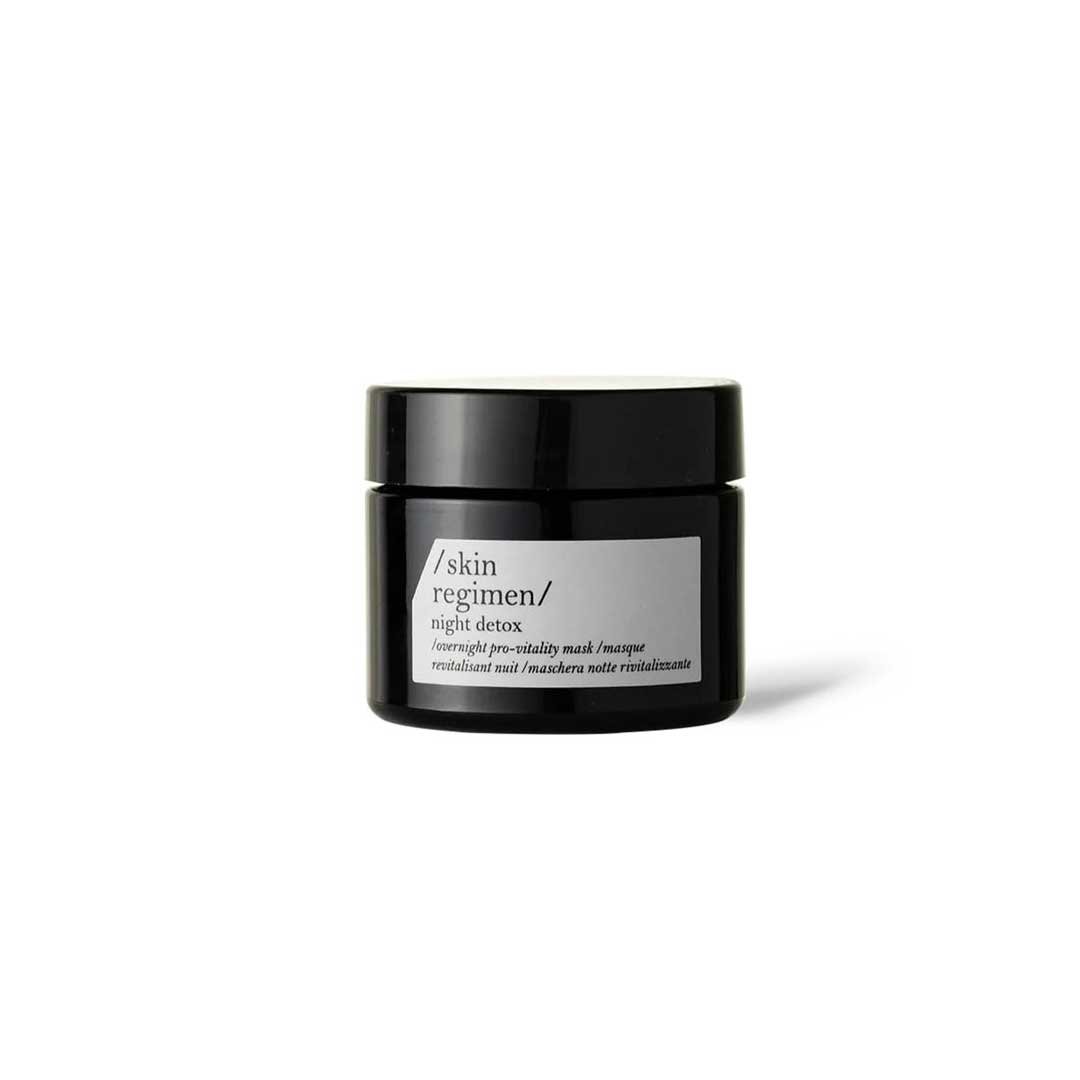
STEP 5: FINISH WITH NIGHT CREAM/OVERNIGHT MASK TO REPAIR SKIN DAMAGE

Overly dry skin also tends to age faster, and since sebum production decreases with age, a daily moisturizer or night cream is a must. Make sure you're sticking to a proper moisturizing routine in the morning and at night to prevent premature skin aging. Instead of your usual moisturizer, swap in a night moisturizer—this will give your skin an extra boost of moisture while helping to further protect your skin barrier from outside stressors and signs of aging. What's better than waking up to more beautiful skin?

ANTI-AGING SKINCARE IS ONE BUILDING BLOCK OF A HEALTHY LIFESTYLE

Even though it can be hard to find extra time to dedicate to yourself during the day, making an anti-aging skincare routine is a necessary part of your daily schedule. The combined power of cleanser, toners, anti-aging serums, retinol, eye cream, sunscreen, and moisturizer help to both nourish your skin with nutrients and moisture while also fighting signs of aging and protecting against future environmental damage.

Take care of yourself from the inside out: stay hydrated, get enough sleep, fuel your body with delicious and nutritious foods, and take care of your skin with an anti-aging skincare routine. By prioritizing a healthy lifestyle, you'll be well on your way to beautiful and younger-looking skin, no matter your age.
The Bees Knees Cocktail

Makes 1 Cocktail

  • 2 oz gin

  • 1 oz runny honey (if honey is too thick, heat it gently in the microwave with a little water - this helps it to be the right texture so you don’t end up with globs of honey in your cocktail)

  • 1 egg white

  • 1 oz fresh lemon juice

  • bee pollen for garnish (optional)

  1. Put all the ingredients except the bee pollen in a cocktail shaker. Shake vigorously for about 30 seconds or until the egg white is frothy.

  2. Add some ice to the shaker and give it a couple more shakes to chill the cocktail.

  3. Use a spoon to hold the frothy egg whites back while you pour the liquid into two chilled cocktail glasses. Spoon the froth over the top of each cocktail and sprinkle with bee pollen.  

Notes

  • If you don’t have bee pollen, cayenne pepper makes a gorgeous garnish and the hint of heat is just perfect! Chipotle Chili Powder would be lovely as well.

  • If you are doubling this recipe, you don’t need to double the amount of egg white. One will give you enough froth for two cocktails.

  • It says to ‘shake vigorously’ for 30 seconds. This is not the time to be timid, friends! Shake it. Shake it real good.

Stay healthy on Halloween

To balance out the sugary offerings at Halloween gatherings, these orange-and-black recipes are perfect for any sophisticated Halloween affair.

Ingredients:

6 large eggs

1 jar roasted red peppers, patted dry and roughly chopped

2 tablespoons mayonnaise

2 tablespoons Greek yogurt

1 teaspoon Dijon mustard

½ teaspoon red wine vinegar

¼ teaspoon paprika

1 pinch sea salt

1 pinch activated charcoal powder, for garnish

Directions:

  1. In a medium saucepan, cover eggs with cold water. Bring to a boil. Then remove from heat, cover, and let stand for 10 minutes. Drain and rinse eggs under cold water until cool.

  2. Peel the eggs and cut in half lengthwise. Remove the yolks and transfer whites to a serving platter.

  3. In a food processor, add the yolks, red peppers, mayonnaise, yogurt, mustard, vinegar, and paprika. Season with salt. Pulse until smooth.

  4. Mound yolk mixture in each egg-white half. Cover and refrigerate until ready to serve, then sprinkle with activated charcoal.


Satisfy afternoon candy cravings with these chocolate-covered bites. Almond butter, oats, and flaxseed contain healthy fats and protein, which balance out the sweetness of honey and chocolate. A mix between truffles and energy balls, they’re also the perfect pre-workout snack.

Ingredients:

¾ cup old-fashioned rolled oats

¾ cup pumpkin puree

¼ cup raw honey

¼ cup almond butter

½ teaspoon pumpkin pie spice

1 tablespoon ground flaxseeds

Sea salt

1 3½-ounce dark chocolate bar, melted

¼ cup cacao nibs, finely chopped

Directions:

  1. Line a baking sheet with parchment paper. In a medium bowl, combine the oats, pumpkin, honey, almond butter, pumpkin pie spice, flax seeds, and a large pinch of salt.

  2. Using damp hands, roll the oat mixture into balls, about 1 tablespoon each. Arrange on the prepared baking sheet. If they’re too soft, cover and refrigerate for 15 minutes.

  3. Working one at a time, dip each ball into melted chocolate, using a fork to lift it. Tap gently to remove excess chocolate and place on the baking sheet. Sprinkle the tops with cacao nibs.

  4. Transfer the baking sheet to the freezer and wrap in foil or plastic. Freeze until solid, at least 30 minutes or up to 1 week.


This duo of dips is made with anti-inflammatory ingredients. Switch up regular hummus with these two versions of the healthy staple. The black hummus uses black tahini, chickpeas, and cumin. The orange one is made with turmeric and slightly sweet butternut squash.

Prep Time: 15 minutes
Makes: 2 cups each black and orange hummus

Ingredients
1 15½-ounce can chickpeas
½ cup black tahini
2 tablespoon fresh lemon juice
1 garlic clove, chopped
¼ teaspoon ground cumin
¼ cup extra-virgin olive oil, plus more for drizzling
Sea salt
Freshly ground black pepper
Toasted sesame seeds, for garnish

Ingredients
2 10-ounce packages frozen butternut squash, thawed and drained
¼ cup light tahini, such as SoCo Tahini
3 tablespoons fresh lemon juice
1 garlic clove
1 teaspoon turmeric
Sea salt
Za’atar, for garnish
Extra-virgin olive oil, for garnish

Ingredients
Whole-grain crackers, for serving
Crudité, for serving

Directions
1. Make the black hummus: In a food processor, pulse the chickpeas with the black tahini, lemon juice, garlic, and cumin until smooth. With the processor running, slowly drizzle in the oil until combined. Season with salt and pepper. Scrape into a serving dish. Drizzle with more olive oil and sprinkle with sesame seeds. Or store in an airtight container in the refrigerator for up to five days.

2. Clean the food processor bowl. Then add the squash, tahini, lemon juice, garlic, and turmeric. Pulse until smooth. Season with salt. Scrape into another serving dish. Drizzle with olive oil and sprinkle with za’atar. Or store in an airtight container in the refrigerator for up to five days. Serve with crackers and crudité.

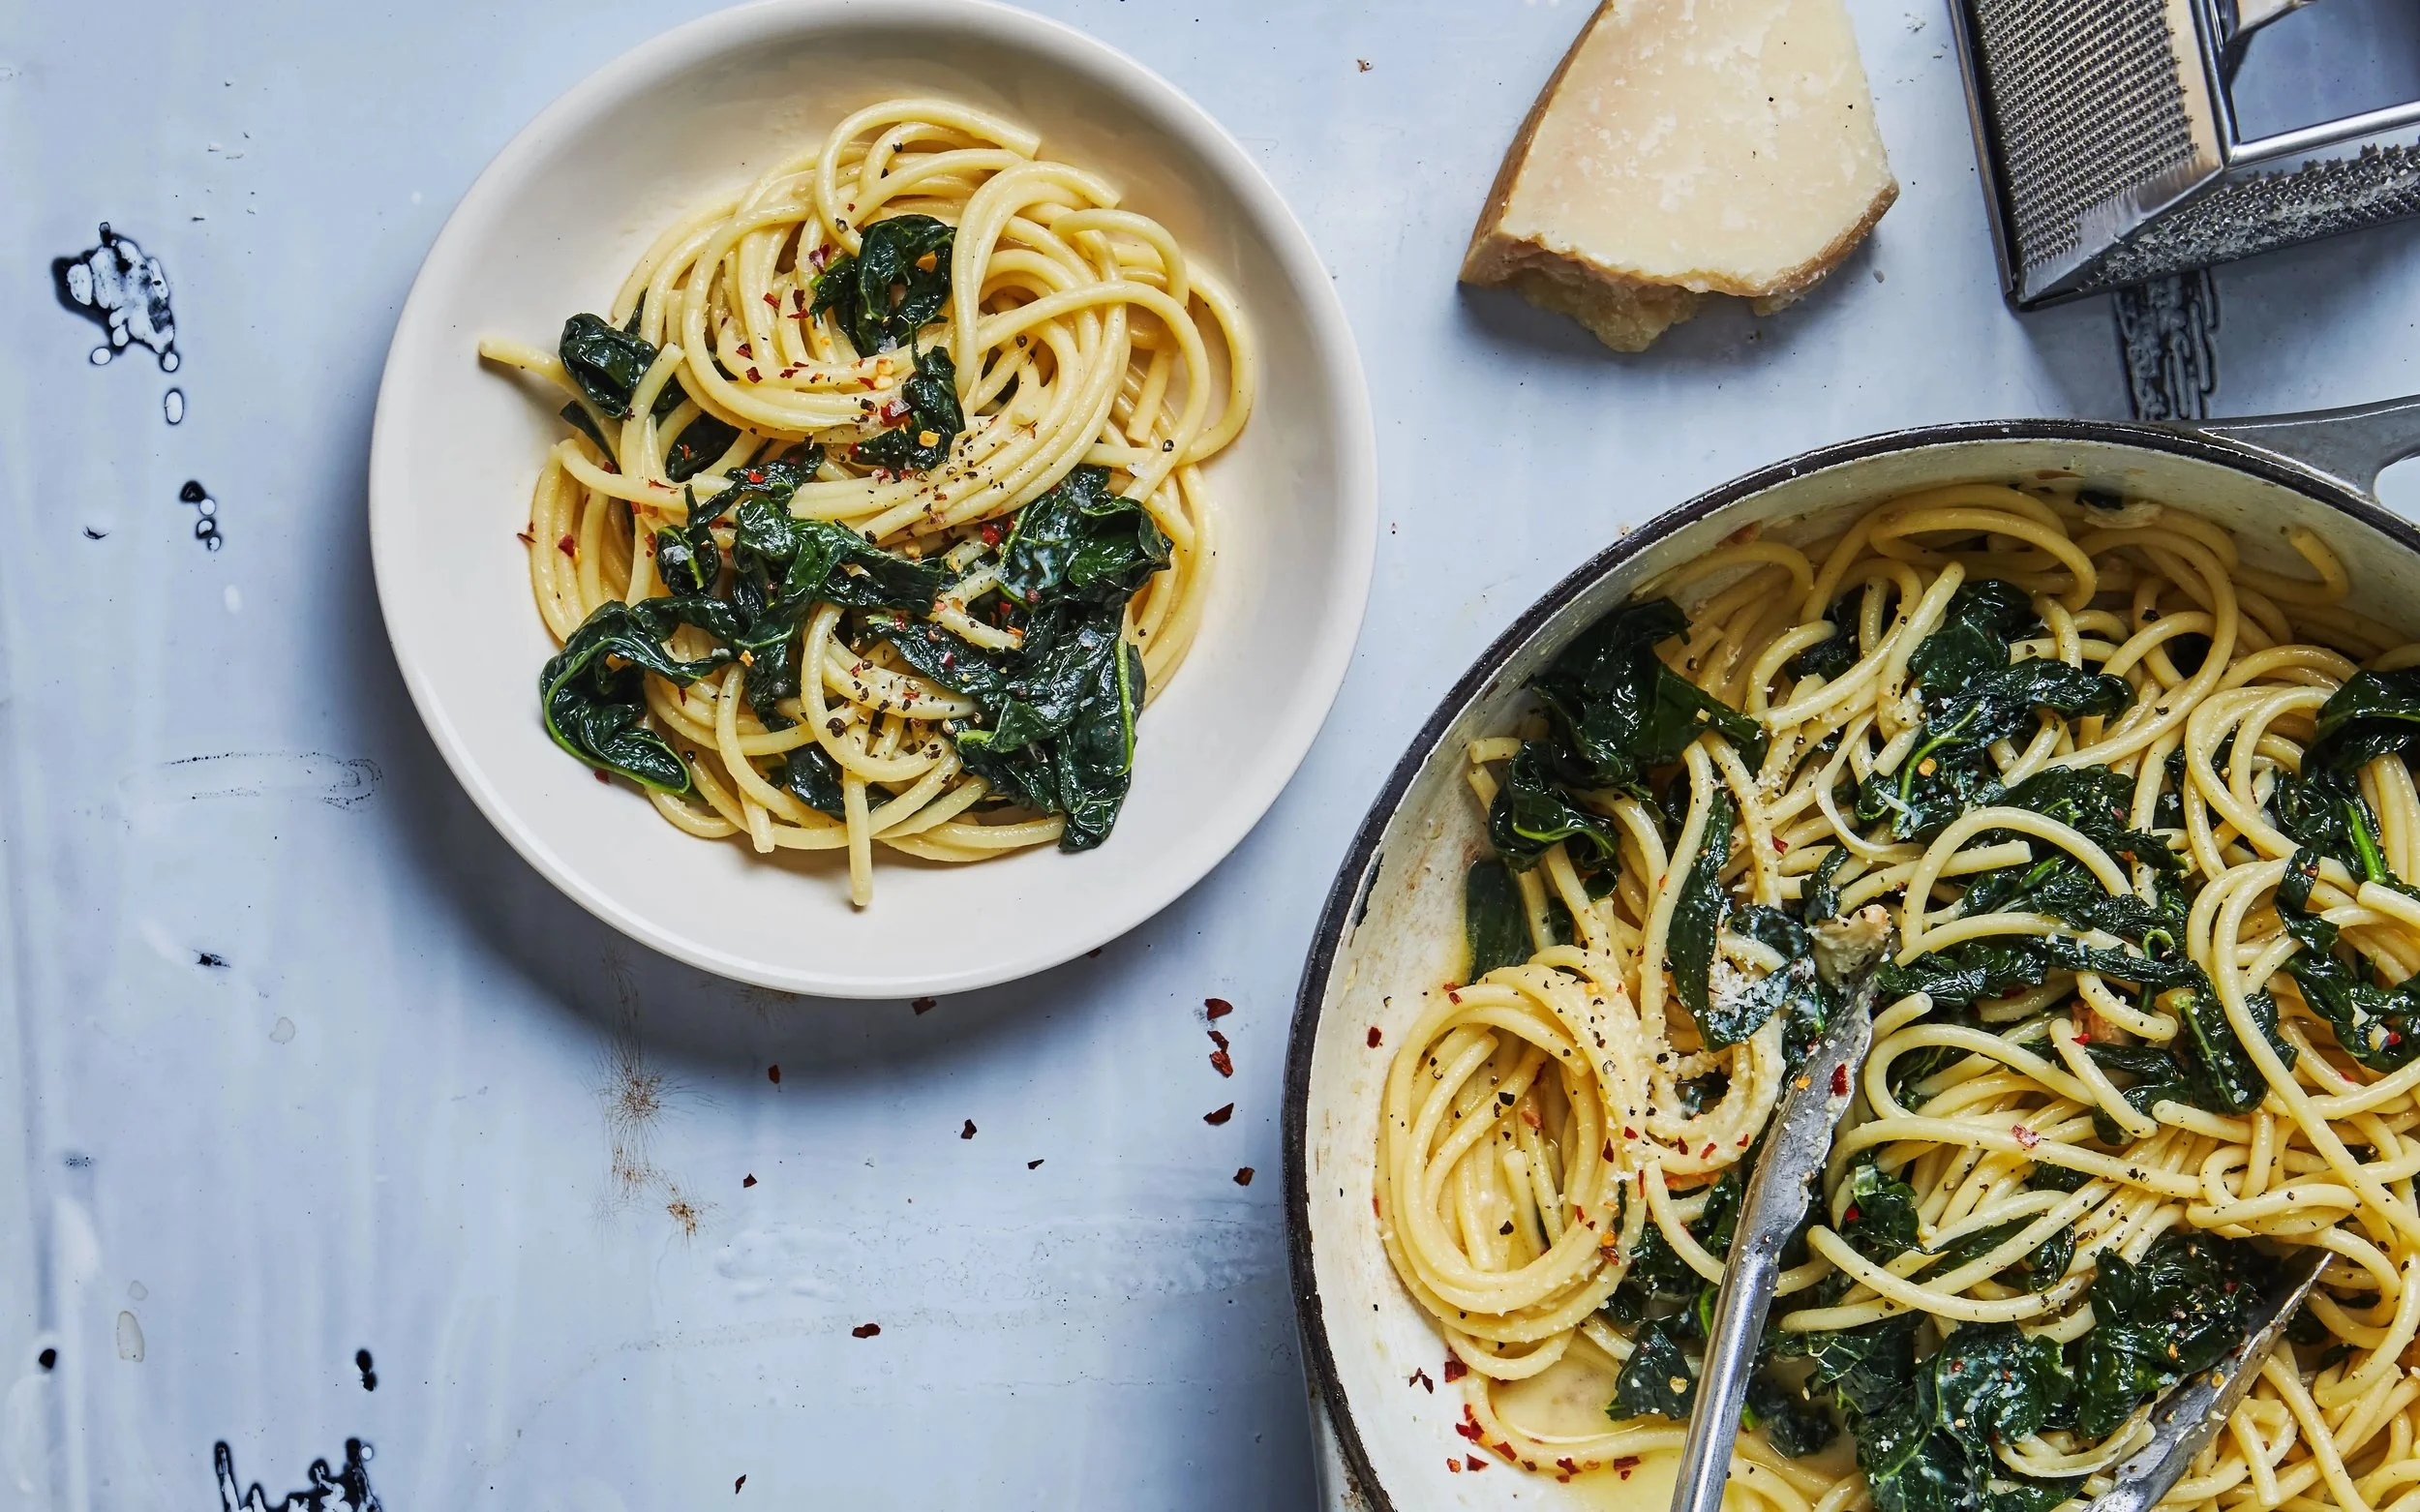
Spaghetti squash aglio e olio with kale

There may be a chill in the air and waning hours of sunshine, but that is hardly license to hibernate and indulge in “comfort” foods all day. And yet, it should be said that not all comfort foods are “bad” for you. Exhibit A: Spaghetti Squash.

You might be somewhat confused by the name of this fabulously delicious winter squash. Spaghetti? That’s right. When cooked properly, it actually resembles both the shape and consistency of pasta and with your favorite sauce, it can be eaten in lieu of the refined carbohydrate.

Similar to its winter squash counterparts, the rich color of spaghetti squash makes it a great source of antioxidants, including alpha and beta-carotene. Both nutrients turn into vitamin A, which helps to improve eyesight, especially in low-light settings (nighttime readers, rejoice.) But the health benefits of this slimming squash don’t stop there. It's a good source of folate. It's also high in soluble fiber, which helps us stay fuller for longer. So warm up with this spaghetti squash recipe for dinner — it's healthy comfort food at its finest

Servings 6 to 8 servings

Ingredients

  • 1 large or 2 medium spaghetti squash, halved & seeds removed

  • 1/3 cup olive oil, plus 1 tablespoon

  • kosher salt & freshly ground black pepper

  • 8 garlic cloves, thinly sliced

  • 1/2 teaspoon crushed red pepper flakes (optional)

  • 1 bunch kale, chopped

  • 1/2 cup chopped fresh parsley (plus extra for serving)

  • 1 cup freshly grated parmesan cheese (plus more for serving)

Instructions

  1. Preheat oven to 400°F.

  2. Brush 1 tablespoon of oil all over the cut sides of the spaghetti squash.  Generously season with salt and pepper.  Place cut sides up on a baking sheet and roast about 45 minutes, or until the squash is just tender enough to scrape into strands.

  3. Meanwhile, place a large skillet over medium heat and add the 1/3 cup olive oil, sliced garlic, and crushed red pepper flakes.  Cook, stirring often for about 5 minutes until the garlic is caramelized and fragrant.  Stir in the chopped swiss chard and saute just until the chard is wilted.  Season with salt and pepper, if necessary.  Add 1/4 cup water and stir.  Remove from heat and set aside.

  4. When the squash is finished cooking, scrape the flesh into strands and toss it with the garlic oil and chard mixture.  Add the parsley and parmesan and toss again to coat.

  5. Divide the pasta among bowls and serve with fresh parsley and parmesan.

This is your body on a candy binge

Working out provides a host of body benefits: cardiovascular fitness, muscle tone, and—luckily for the well-conditioned—wiggle room for a sweet tooth.

“For a fit body, a candy bar will be pretty uneventful. Bits of sugar and fat will be processed, broken down, and shuttled off to cells. No biggie. The person will go and eat a nutritious dinner and move on,” says Ryan Andrews, R.D., a fitness, and nutrition coach.

The problem, then, isn’t one sweet, but the snowball effect of handful after handful. “It’s hard to give an exact number and say, ‘once you’ve hit this threshold, you’re officially overdoing it,’” says Andrews. But in general, he estimates 50 grams of sugar and 50 grams of fat in one concentrated, candy-filled dose is too much, even for an athletic body. (Two classic candy bars like Butterfingers or Milky Ways would put you over that sugar figure and almost halfway there in fat.)

“When we over-consume food beyond our needs, some negative things can start to happen,” Andrews says. “When that food is highly processed, like Halloween candy, it might be even more problematic.” Below, nutrition experts explain the physiological fallout of going hog-wild.

Your Brain: When sugar hits your tongue, the brain sends a message to the pancreas to produce insulin, a hormone that signals cells to either absorb sugar as energy (or glucose) in the muscles or store it in the liver, says Kristin Kirkpatrick, R.D., manager of nutrition services at Cleveland Clinic Wellness Institute. Your brain then activates its reward system and levels of dopamine increase, which may be what’s telling you to eat more of the sweet stuff, she says.

This can lead to skewed perceptions of reward and hunger in the brain, says Andrews. (Even if you’re full, you might keep eating.) “Over time, it can create a reward cycle and reliance on sugar to improve mood.”

Your Bloodstream: Excess fat, sugar, and sodium from sweets can increase blood volume, making your blood more concentrated, says Andrews. “This means higher blood pressure, which is bad news for vessels, kidneys, eyes, and the heart.” It might also limit how much urine you produce—which means you’ll hold onto extra fluids, he says.

Ultimately, the flood of fats and sugar must go somewhere, says Andrews. “Once cells have what they need, sugars can be converted to fats, and incoming fat can be stored away—as fat.”

Over time, if there’s constantly too much glucose circulating (from a high-sugar diet), cells’ sensitivity to insulin can weaken or they can stop responding all together. That can morph into type 2 diabetes, Kirkpatrick says.

Your Heart: If you’re eating dark chocolate—which has caffeine—you may experience an energy burst and your heart may start to beat faster, says Kirkpatrick.

Ingredients matter, too. For example, Andrews adds: Dark chocolate with coconut offers decent nutrients (like fiber, iron, magnesium), contains less sugar, and has good-for-you monounsaturated fats. A Kit-Kat is low-quality chocolate, dairy, and sugar. “The fats in coconut and dark chocolate are less likely to promote heart disease and more likely to be processed by the liver for energy,” says Andrews.

Your Immune System: After such a high dose, your immune function will likely be compromised, making you more susceptible to an illness, says Andrews. (When the bacterial balance in your gut is out of whack—see above—your entire immune system can be dialed up or down.)

Break Through Your Fitness Plateau

It happens to all of us. We do everything right: go to the gym, eat right, lift weights, do cardio, and crushing the lifestyle. Losing weight has slowed down, and we aren't hitting our max weights and feeling weaker. It's normal; YOU HAVE HIT FITNESS PLATEAU! While fitness plateaus can be frustrating, you need to know that they are not permanent and can be overcome.

A fitness plateau happens when the progress you've been making, like losing weight, toning up, or getting stronger, has stalled or even halted. The good thing is everyone experiences them. Look at plateaus as a good thing; you did some great work prior, and now the body needs another adjustment or change to progress.

Here are some helpful tips to get out of your fitness plateau and continue your fitness journey!

Note: Everyone's body is different and will respond differently. Try these tips to see what works best for you.

1. Ramp Up Your Workout Intensity

The body is constantly adjusting and adapting. A simple and easy way to break out of this plateau is to make your body work harder, NOT LONGER. Increase the weight you use and lower the repetitions. Make sure you keep proper form and perform the exercises safely, especially when adding a heavier workload.

2. Mix Up Your Routine

Give your body a new challenge outside of the normal. Make your body learn how to adapt to new movements and exercises. For example, if you do machines primarily, switch to free weights. If you jog on a treadmill, do an interval split or add incline. Do new exercises and movements to force the body to do something new.

3. Back Off on The Load

As I mentioned above, we wanted to increase the load. But if you are already lifting on the heavier side, lighten the weight for a week or short period. To make the workouts efficient and challenging still, add repetitions. By lowering the weight, you are allowing the muscles to recover and boost their growth as well.

4. REST & Recover

I can't stress enough that getting adequate rest is critical for development and allows the body to recover. Don't worry about missing workouts, and Overtraining can make you lose the progress that you have made so far. The body needs to rest and recharge.

5. What Are You Eating?

If you don't give your body proper nutrients, muscles will not be able to grow, and they won't have the fuel to power your workouts. All your training will go to waste without the appropriate levels of carbs, protein, fats, and nutrients.

Fitness plateaus are frustrating, and you go from tremendous results to seeing no changes. However, it is essential to know that plateaus are normal and aren't too difficult to overcome.

If you are struggling with a fitness plateau or want to talk more about these, contact me at tsprockhoff@yellowcreekspa.com, 330-665-2555 ext. 2262, or message us on IG: @yellowcreekgym and allow us to help YOU!
Chia pudding parfait

This anti-inflammatory meal features turmeric, coconut milk, and pecans.

Granola is a busy family’s pantry staple. You can make it in bulk and store it for up to two months. You’ll get fiber from the oats and healthy fats from the pecans, coconut, and sesame seeds. The cinnamon, vanilla, and maple syrup add a sweetness that kids love. Here, it’s layered with turmeric-chia pudding and fresh fruit.

Serves 4

Prep time: 15 minutes

Cook time: 45 minutes

GRANOLA

Non-stick cooking spray

8 cups gluten-free old-fashioned rolled oats

1 cup large-flake unsweetened coconut

1½ cups pecans, roughly chopped

½ cup white sesame seeds

2 teaspoons cinnamon

1½ teaspoons salt

1¼ cups grapeseed oil

1¾ cups maple syrup

1 tablespoon vanilla extract

For the granola, preheat oven to 300 degrees—line two baking sheets with parchment paper. Coat with cooking spray. In a large bowl, mix oats, coconut, pecans, sesame seeds, cinnamon, and salt. Toss with grapeseed oil, followed by maple syrup and vanilla extract. Spread granola onto baking sheets and bake, rotating halfway through and stirring, until golden brown, about 40 to 45 minutes. When cool, store in an airtight container out of direct sunlight, for up to 8 weeks.

CHIA PUDDING

2 15-ounce cans coconut milk

1/2 cup chia seeds

1 teaspoon vanilla extract

1/2 teaspoon turmeric

1 tablespoon agave syrup

Whisk all pudding ingredients together in an airtight container. Store in refrigerator overnight to set.

PARFAIT DIRECTIONS

½ cup chia pudding

1 fresh peach or nectarine, thinly sliced

¼ cup pecan-sesame granola

For the parfait, layer all ingredients in a glass or portable container.

The faster way to heal blemishes

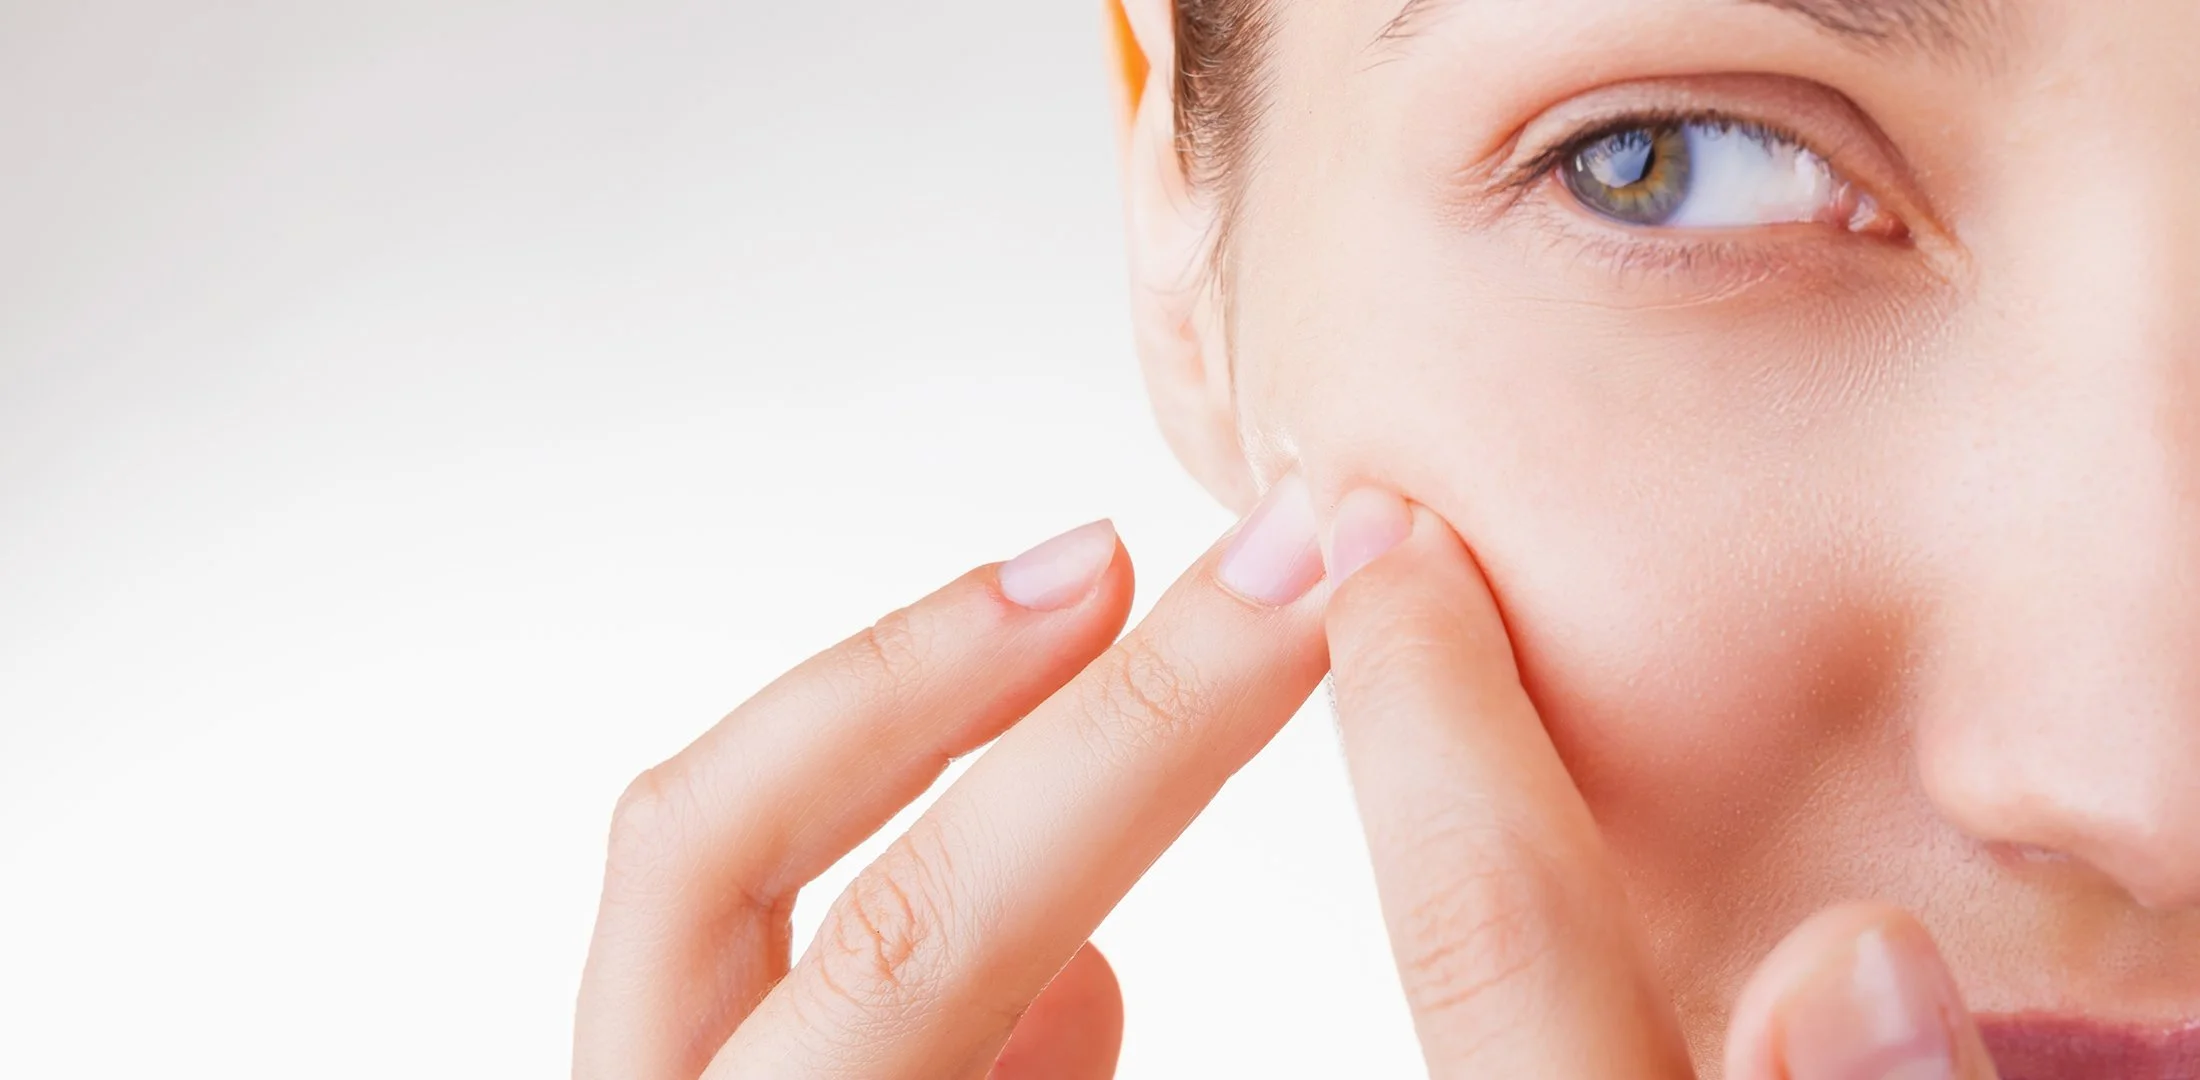
Ask any dermatologist: When it comes to treating acne, playing the long game is the best way to achieve results. Diet changes, routine overhauls, and prescription medication can all lead to fewer breakouts and smoother skin. When a blemish appears, however, that strategy is usually deserted in favor of an immediate action. Resist the urge to pop or pick and reach for a spot treatment instead. They heal pimples faster by delivering a powerful dose of active ingredients to the acne lesion.

Spot treatments are not new to anyone who struggles with acne, but traditional formulas are often thick, white, or textured, making them suitable only for overnight use. However, there are products that can be applied during the day to covertly heal blemishes—and speed healing.

These treatments should only be used as needed, and should not replace an ongoing regimen of medication, moisturizer, and cleanser. You’re treating acne after it’s already reared its ugly head, not preventing pimples from forming. But when a quick fix is necessary, try one these products for a fast and discreet solution.

https://yellowcreekshop.com/collections/acne-blemishes

The Spa at Yellow Creek
Nourish the body pre-workout with this satisfying sandwich.

Egg White and Turkey Bacon Wrap with Herbs and Arugula
Serves 2

1 tbsp. extra-virgin olive oil, divided
1½ tsp. finely chopped fresh rosemary leaves
½ tsp. freshly ground black pepper
¼ tsp. kosher salt
¼ medium red onion, finely chopped
2 strips turkey bacon, chopped into ½-inch pieces
4 large egg whites
5 scallions, white and light green parts only, thinly sliced
½ c. loosely packed arugula, roughly chopped
½ c. loosely packed basil, roughly chopped
1 tsp. fresh lemon juice
1 piece of lavash-style flatbread (trimmed to a 10- by 9-inch rectangle)

Directions:
1. To a medium nonstick skillet set over medium-high heat, add 2 teaspoons of the olive oil. Once it shimmers, after 1 to 2 minutes, add the rosemary, black pepper and salt and stir until fragrant, about 15 seconds. Add the red onion and cook until the onion begins to soften, about 1 minute. Add the bacon and cook, stirring often, until the bacon begins to brown, 3 to 4 minutes.

2. Pour the egg whites into the skillet and use a rubber spatula to scramble them, until the whites are cooked through, about 45 seconds. Turn off the heat.

3. In a small bowl, add the scallions, arugula, basil, the remaining 1 teaspoon of olive oil and lemon juice. Transfer the eggs to one side of the lavash and top with the arugula mixture. Roll the wrap into a tight cylinder then slice in half into two portions. Serve immediately.

The Spa at Yellow Creek
A 20 minute workout for the time-starved person: The 6-move routine

If you only have 20 minutes, try this quick yet effective routine.

The Workout: Attack this 6-move power-boosting superset below, in order, three times. Rest for only 1 minute at the end of each superset.

1. Jump Rope: 1 minute
2. Pushups: 30 seconds
3. Alternating side lunges with medicine ball chest presses: one minute
4. Hip Raises: 1 minute
5. Kettlebell Swings: 30 seconds
6. V-Up crunches: 30 seconds

The Spa at Yellow Creek
The Skinny Paloma (no sugar added)

This lightened-up skinny Paloma is made with fresh grapefruit juice, tequila, and lime juice. You can add a splash of sparkling water for little bubbles.

Ingredients

12 ounces fresh grapefruit juice, 2-3 pink or red grapefruits, juiced

3 ounces tequila

2 teaspoons lime juice

ice

grapefruit flavored sparkling water, optional

sea salt flakes or pink Himalayan sea salt, for the rim

Instructions

Add 1 shot of tequila, 6 ounces of grapefruit juice, 1 teaspoon of lime juice, and ice into each glass. Stir to combine, add of a splash of sparkling water (if using) and garnish with a lime wedge.

Nutrition

Serving: 1
Calories: 172kcal Carbohydrates: 43g Protein: 1g Sodium: 1188mg Sugar: 19g

The Spa at Yellow Creek